Experiences from Aurora Viewing in the winter of 2008, Saariselkä
Introduction
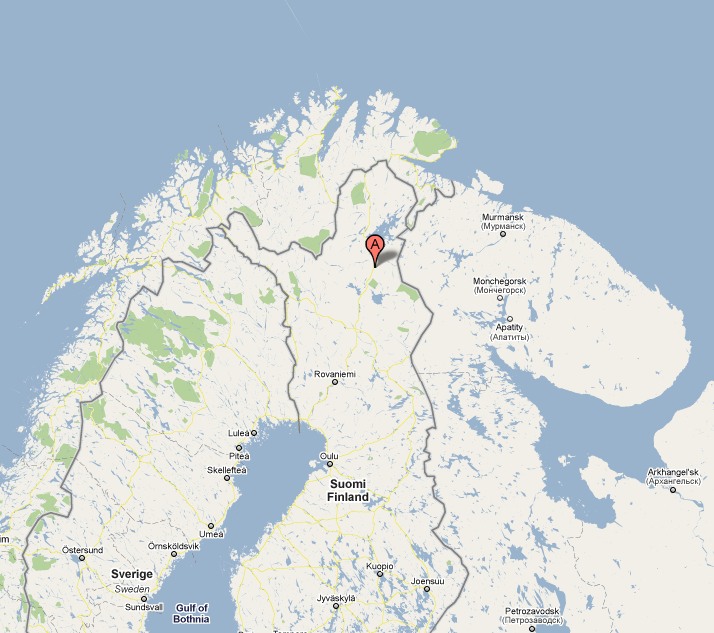
Like every winter in recent years we will spend our winter holiday in Finnish Lapland. This year we headed for Saariselkä, a relatively large skiing resort approximately 30km south of Ivalo close to the Russian border. Saariselkä lies around 68° North and 27° East, i.e. slightly north of the polar circle, 300m above sea level (see map below).
Aurora activity
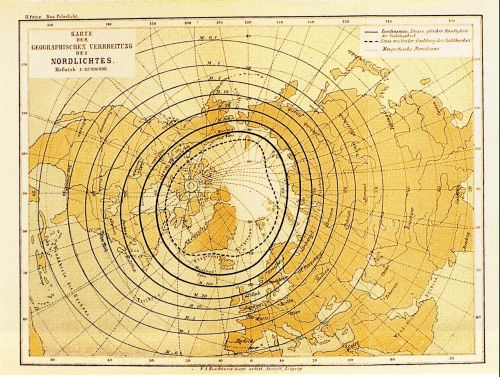
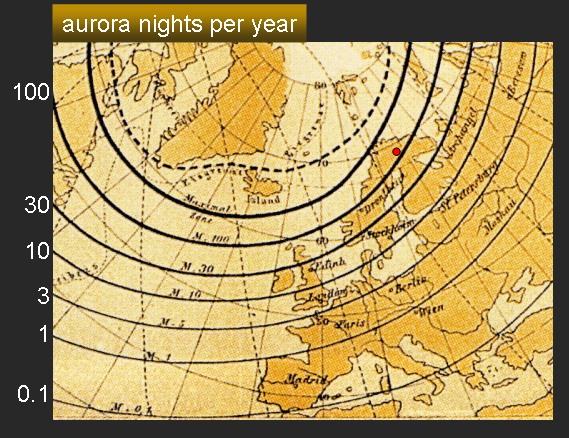
A map of Isochasmen (see above) shows you the geographical distribution of aurora probability, i.e. how often auroras can be viewed depending on the geographical location you are. This map will list average values. Saariselk� lies almost optimal for aurora viewings with 100 nights a year (see the map above), Stockholm will still have 10 nights a year and Vienna and Rome will have auroras every 10 years. But a successful aurora viewing will also be influenced by other factors such as the daytime (if auroras happen during the day you will not be able to view them and if they are active in the very early morning hours you're probably asleep). The weather is also heavily influencing your chances. Even a thin cloud layer can make aurora viewing impossible. This year we were extremely happy with 5 clear nights with aurora activities out of 14 nights total. If we would have stayed longer outside we possibly even could have had the chance for more viewings. But sometimes sleep is more important.
Interfering light sources
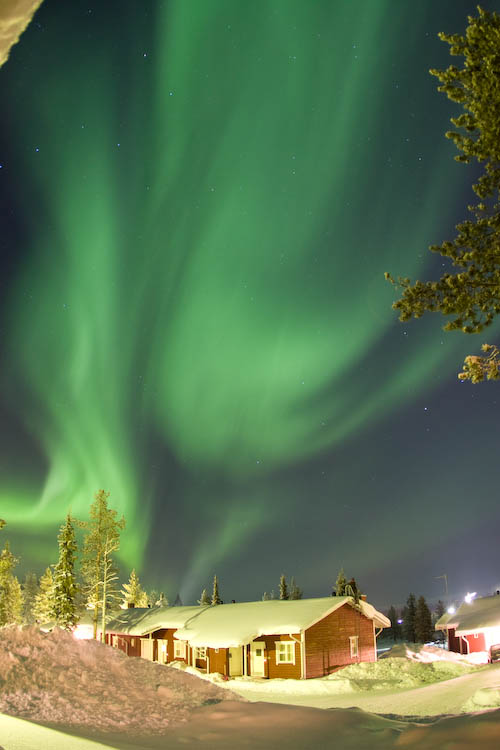
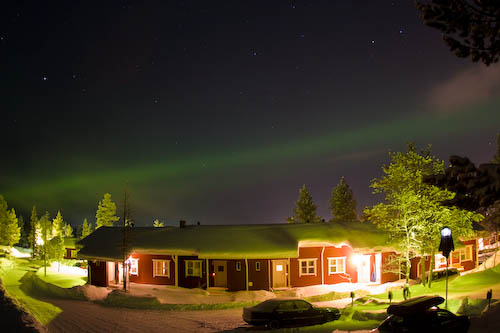
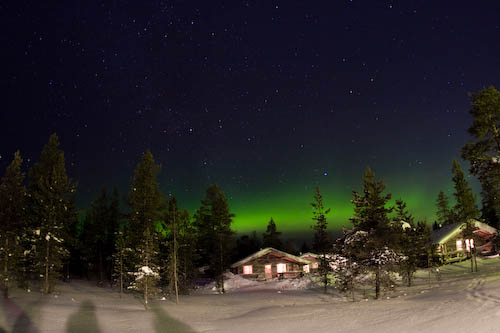
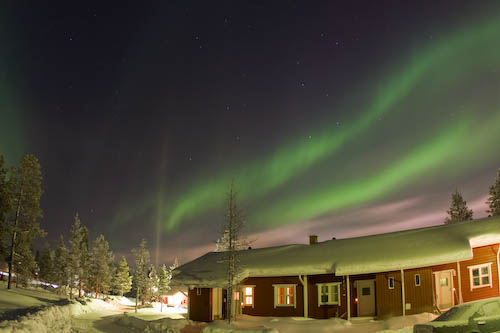
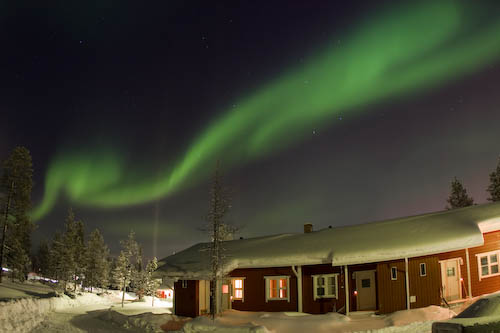
This year, the biggest hurdle watching auroras were the bright light sources around our cabin. Street illuminations were mounted almost on every track and active the whole night. Snow covered roads will heavily reflect the light back to the sky and illuminate the background and the surrounding. Some of the lamps were build almost ideally as isotropic radiators, i.e. rather than concentrating their light beam on the road they were radiating in all directions with highly negative side effects on illuminating the close vicinity of the road. Exactly in front of our cabin such a lamp was installed to illuminate the parking lot. As this lamp was defective the first week we could experience the great difference with and without this illuminator. We experienced with a dark blanket which we threw over the lamp and which impressively increased the light situation for the better (or the no light situation). Bright lights in the close vicinity of the hut have multiple effects on Aurora viewing. First of all, the sensitivity of the eye is largely influenced by the light. The dark adaptation of the eye will not work if the surrounding is too bright. As soon as you look in the direction of the illumination your dark adaptation will be reducedand at the same time the eye's sensitivity. You will see less faint auroras which might introduce a more active time. Secondly, taking pictures with bright lights in the surrounding is very difficult. The scattering effect will increase the light from the background and the auroras are not that nicely separated from the dark sky background. Clouds will heavily reflect the lights and will also get a colorcast depending on the colour temperature or colour distribution of the source light. Bright light sources may also overdrive some pixels of your sensor sometimes generating bleeding effects. Bright lights outside the viewing angle can even influence your pictures by generating reflections on the lens surface as the sun does during the day. I.e. you need at least a sunshade to work with (even though a sunshade at night might look confusing). My standard lens is a fish eye. This setup is very prone to light reflections. It is therefore very important to seek for a hut in a dark surrounding which might be hard to check out from remote. You might ask the person renting out the cabin but many people will not experience this problem as you do and even don't know where the light sources are located. Searching for a place away from the cabin during your stay might be an option but will decrease the possibility of viewing auroras as they sometimes appear very quickly and do not allow you to loose too much time moving to a new location. And if you are using a external power supply you are also bound to have access to an AC plug.
Requirements for a good viewing location
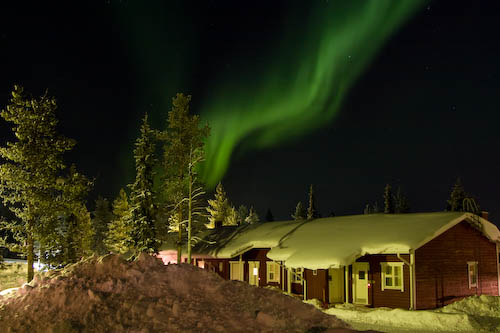
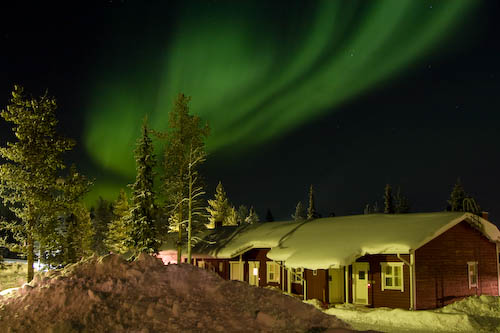
As mentioned above, a dark place is the most important factor. A good and clear sight of the horizon and most of the part of the sky should also be possible. Auroras will be visible in many different forms and will cover large areas of the sky. Bands of light from east to west are typical. They sometimes will stay still for many minutes and will suddenly generate movements expanding the sight over the whole sky. This year we saw auroras covering more than 75% of the sky. At our location, the highest activity was experienced watching north even though the light sometimes expanded into the southern hemisphere. A good and free view into the north is therefore recommended. If you are taking pictures it is also good to have an interesting foreground with no bright light sources. In the warmer times of the year, a lake might be optimal possibly reflecting the lights. In the winter this is not an issue as all the lakes will be frozen and covered with snow. But the absence of trees and buildings might give you a good and clear view of the sky. All this is valid for locations in northern Finnish Lapland. Other locations might have higher activities in other directions. Keep in mind that polar light activity is not dependent on the distance from the geographical pole but from the magnetic pole. The geographical location of the pole is changing with time. The northern magnetic pole lies today in northern Canada close to the Island Ellismereland, the magnetic south pole lies south of Australia.
Auroras: Colours and forms
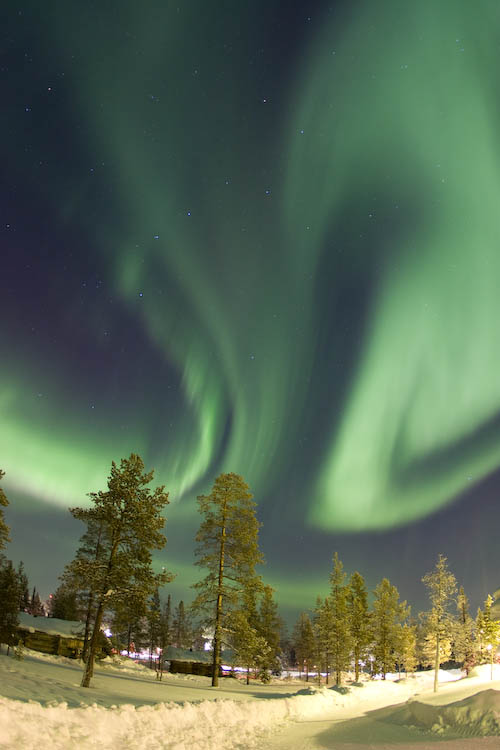
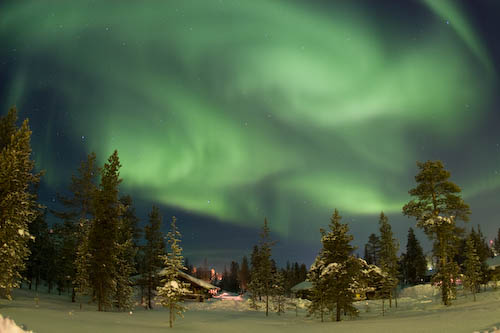
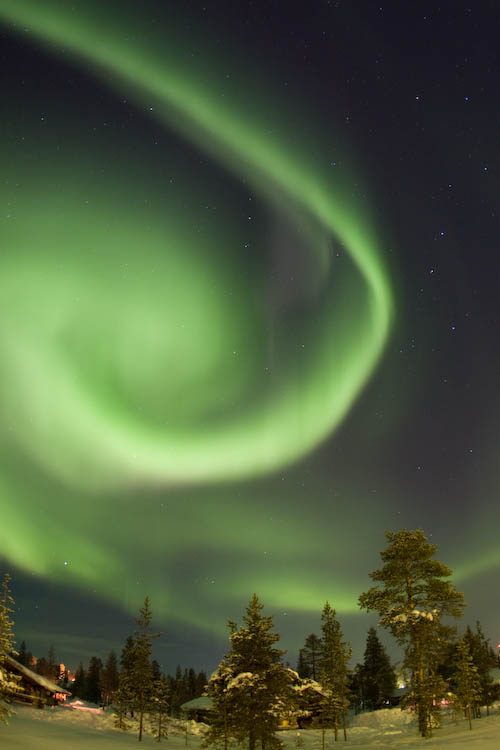
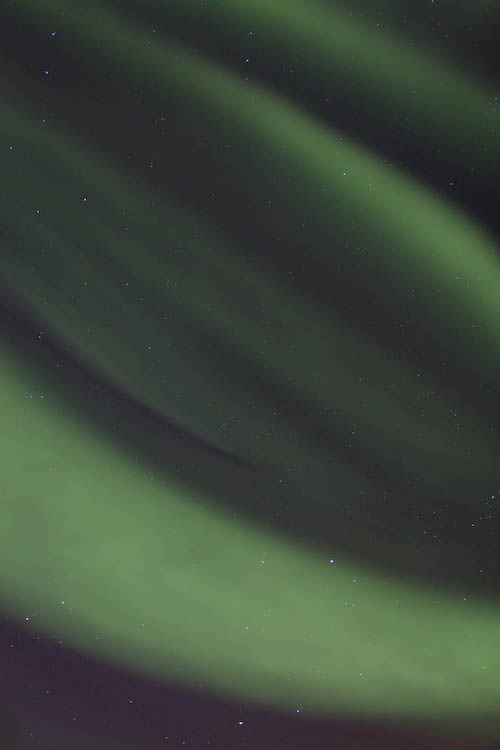
This year we had good opportunities observing the varying forms of the lights. At the end of February the sun will set around 5pm at the polar circle. Dawn spans over a long time periode and auroras might be seen already at 6pm depending on their activity and therefore brightness. The five clear aurora nights showed an almost continuous activity of polr lights ranging from very dim lights concentrated on a small part of the sky to bright lights covering the whole hemisphere. Typical bands of light from east to west sometimes stood still for over 30 minutes before generating higher activity and starting to move with high speed. The bands generate waveforms and even collapse into spirals. Multiple parallel bands of lights are also possible. Like railroad lines the parallel band will give the viewer the impression as if they merge in the distance. The same applies for parallel cloud bands. This is a purely perspective effect.
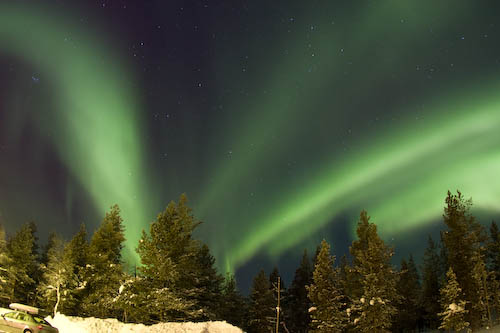
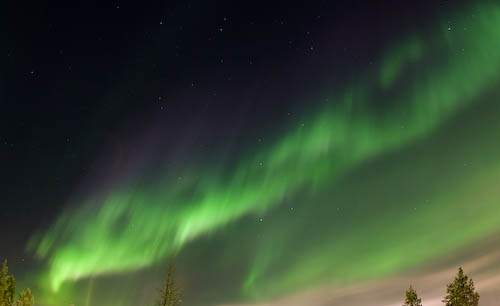
Even though auroras can be seen in all colours, green is very dominant. These lights most commonly are generated by oxygen which has an emission band at 557.7nm. Oxygen has also a second emission band at 630nm, which lies in the reds. Nitrogen has emission band in the blue and the violet. Auroras are generated in heights between 80 and 200km above the earth surface. I found references that state the green light being emitted between 12-140km and the red light at 200km altitude. When observing the aurora you can spot that the red lights are emitted above the green light. The visual impact seems to match with science. The scientist Henry Cavendish found these heights through triangulation already in 1790. Triangulation means measuring the angle under which the lights are seen from different locations.
Photography
I wrote a separate article about aurora photography where you will find all the details about exposure times, used equipment and so on. Mainly the low temperatures will have a limiting effect on your equipment. The battery will show reduced capacity with dropping temperatures. Either you use an external power supply or you always have at least one spare battery with you which you change from time to time. The spare battery needs to be stored in the warmth of your jacket. The external power supply is the better solution when planning for longer shoots. The longer the time you spend outside the higher the chances you will spot auroras and be successful photographing them. I therefore recommend the use of the external power supply. I wrote an article of how to build an external power supply device on you own. Alternatively there might be one available from your camera manufacturer. The power supply will make you dependent on a AC plug. Another solution is to use a external battery with higher capacity. The battery should be placed on an insulated case. I’m modifying my camera adapter at the moment allowing me to use either the power supply on the AC plug or the external battery. A standard battery decoupled from your camera and stored inside your clothes is already a good solution as the warm temperatures will heavily increase battery capacity. However, you will be leashed onto your camera with this approach.
In the early days of digital photography I used a Microdrive to store my pictures. These mini hard disks are prone to low temperatures. Mine gave up working below -15°C. However, this problem is resolved by using standard flash cards. My standard type is the Extreme III card and I never had any issue with them using them in cold temperatures down to -30°C over several hours. More about the problems at low temperatures is found in the dedicated article photography in the cold.
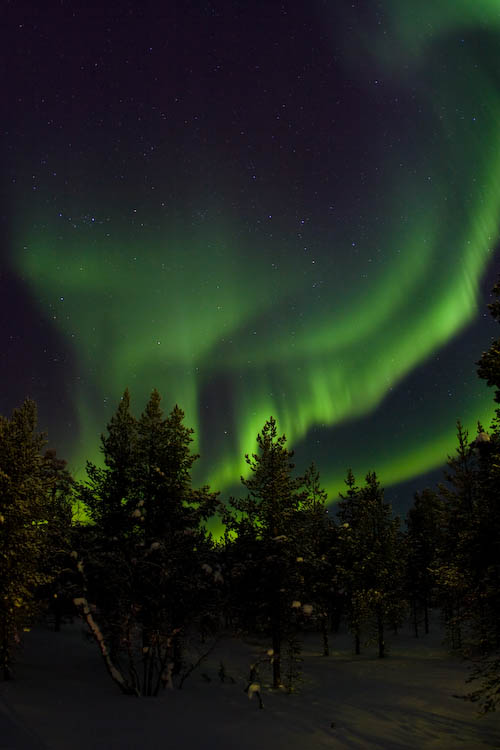
During long exposure the noise of the sensor build up. A dark frame subtraction is very helpful in this regard and some cameras allows an automatic substraction of the darkframe after every picture taken. This will increase the time required for each photograph, as for each picture a second exposure with the same length has to be recorded without any light hitting the sensor. This second exposure will then be automatically substracted from the first one carrying the information. The big advantage of the automated method is that you will end of with a RAW format with substracted dark frame. In addition to that it is a very convenient way to work as it shortens post processing on you computer accordingly. My Canon 20D and 5DMK2 allows automatic dark frame reduction. However, I found out that during standard exposure times at ISO400 of 15seconds and an aperture of 2.8 very little noise builds up and sometimes there is no need for a dark frame reduction. The Canon 5DMK2 is even able to decide itself whether a dark frame substraction is required or not. In addition to that, this camera is able to store up to 5 subsequent pictures and use then one dark frame to substract it from these 5 photos; this will save a lot of time. And because the camera will then decide whether the dark frame needs to be substracted or not, there is the potential for even more time savings.
The low noise experienced might come from the low temperatures. The noise generated by sensors is dependent on the ambient temperature. That�s why professional low noise cameras use a peltier module to cool down the sensor.
Another approach is to record dark frames during your shoot and carry out the dark frame reduction lateron on your PC. This approach also has its advantages: first of all you have no waiting time between exposures. This is really nice if the auroras start to move fast and you are busy capturing the nice forms of the lights building up on the sky. Without the automatic dark frame reduction you are able to shoot almost the double amount of pictures within the same time periode. Secondly, multiple dark frames can be averaged and the resulting pictures could have a better quality than the one with automatic dark frame reduction. However, I was not able to proof this theory. As explained in my article about no startrails, the internal dark frame reduction has its technical advantages, as it is carried out before the Beyer conversion, i.e. I thinks its the better and more accurate method. It is possible that at 15 seconds exposure time the effect is not that big and the differences can be neglected. One thing I do not like about the external dark frame reduction is, that you will not end up with RAW files. Tools like Regim only allow the dark frame to be subtracted in non RAW formats.
The auroras will move that fast, that even a 15 second exposure time will not freeze the lights movements. It is therefore required to gather some experiences photographing auroras as the resulting picture will always be an additive picture of all the lights locations during the lengthy exposure time. But today’s digital cameras with their build in displays and on location review possibilities will enable a steep learning curve.
This year we experienced that the aurora sometimes covered the whole sky as described above. It was the first time that I felt a fish eye lens mounted on a reduced size sensor will not give a large enough viewing angle to cover the whole aurora extension. Stitching pictures together is not possible because of the rapid movement of the lights and a full size sensor is the only possibility to get an even larger angle of view. The larger size of the sensor and pixels (if the same amount of pixels would be present on the sensor) would also reduce the sensor noise and would allow to choose shorter exposure times which would lead to a better rendering of the moving auroras. But as I mentioned, this year was really special and I have to gather some more experience to find out if such a large extension of the lights is normal.
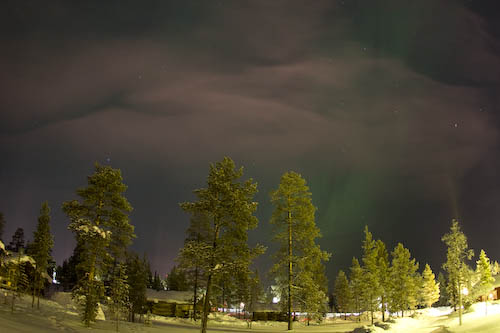
As mentioned above, artificial light sources can cause many problems when photographing auroras. An additional problem arises if these light sources throw their light on the surrounding landscape which is then captured together with the aurora. This mixed light situation makes finding a good white point setting really complicated and sometimes no good solution is feasible. In these cases it might help to selectively desaturate the landscape illuminated by the artificial light source. A better way is certainly to circumvent the problem beforehand and try to avoid mixed light situations. More details on the colour of light and the problem exposing a mixed light scenario is found in the article The colour of light.
Links about Auroras
Aurora Photography
My first report about Aurora photography.
The Aurora Page
This page is a good resource for questions around auroras.
Auroras
Introduction into the physics behind auroras with good graphical presentations. You�ll also find a
comprehensive link collection on auroras.
other links
The Tripod
Wealth of information around one of the most importent accessory for photography: The tripod
Externe Power Supply for SLRs
Cold sourroundings are very demanding regarding battery power consumption. An external power source will
solve the problem. Building one on your own will be very cost effective and more flexibly by using
either an external battery or an AC adapter.
Geotagging
For those of you who want to know where all the photos have been taken.