Folio Folder
Introduction
The presentation of a small collection of photographs is not such an easy task as it seems. Mostly, the
number of 10-30 photographs is simply to small to start a book project. The latter will also involve
quite some financial risks and the design work will be tremendous. The folio idea solves all this. A
collection of photographs will be hold together by a presentation folder, i.e. folio pictures are not
something you will hang on the wall but rather pictures you will look at holding them in your hands as
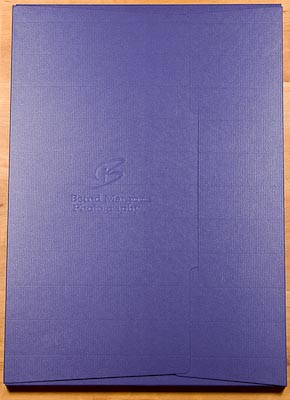
you do with a book. The folder should show a title indicating which folio you hold in your hands and
perhaps also the signature and the logo of the photographer. That's why using a standard folder is a not
the best solution, i.e. you will have to produce one on your own. At this point you have the freedom to
choose whatever format you would like for your folios, the logo and the imprints in general as well as
the paper used for the presentation folder. This article describes how I approached the task and my
experiences I made during the design and the production of the presentation folder.
The first time I saw or heard the name folio was from one of Brooks Jensen's publications, i.e. I have
adapted the name from him. Brooks is the editor of the black and white fine art magazine Lenswork.
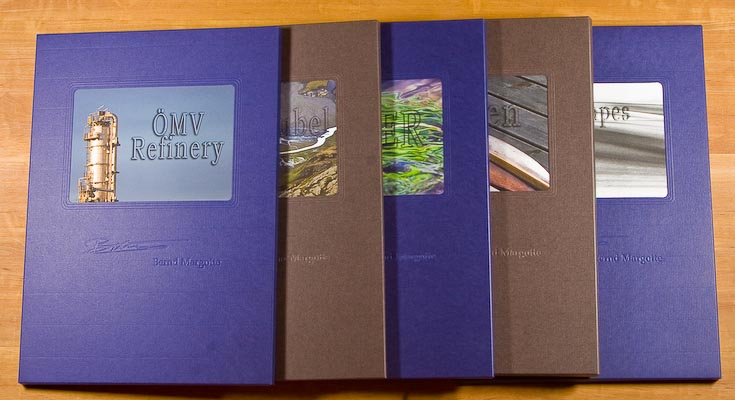
The layout
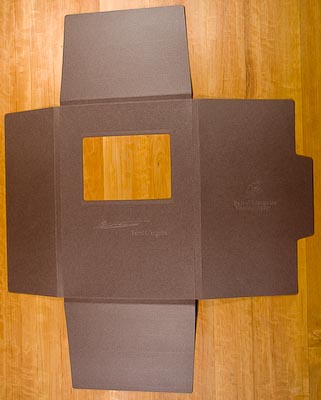
The layout of the presentation folder heavily depends on the format of your folio pictures. As the folio is a handhold presentation, larger formats are not the way to go as they are cumbersome to handle. Too small will not either be a nice way to present your photographs, i.e. you will probably end up with a format which is somewhere between an A5 and an A3 format, i.e. around an A4 or letter sizes paper. The size of your folio pictures will automatically define the size of the folder. You have to add the thickness of the bundle of papers you are planning to include into the folder and the backside of the folder to the total size of the layout required to cut it out of a bow of paper. In Europe the press industry will work on defined sheet sizes which are multiples of a 50cm x 70cm sheet. This size is the one used by most printing presses and something you should opt for when doing the layout. You will soon find out that when your folio paper size is too big it is not possible to fit it on that size of a paper and you have to go to the next level, the double of a 50cm x 70cm sheet which is a 100cm x 70cm sheet. This has the disadvantage that many small printing companies will not be able to handle such a large sized sheet.
I decided to go for a standard A4 sized paper which is probably not the most creative decision but rather a practical one (I could argue that I will concentrate my creativity on photography rather than on format sizes…). In A4 the selection of photographic papers available is simply the largest and you will also find all the other additional papers like cardboards in the size without the need to cut them. For the folio it is very important to have all the photographs in exactly the same size. This means you should be careful not to select a format that you need to cut yourself because minimal differences in sheet sizes will definitively show up. The A4 will also give me the possibility to print the picture a little bit smaller, i.e. having it surrounded by some white background to give it a `mounted on white portfolio cardboard´ touch. The A4 format is optimally to hold in your hand, because the viewing distance of 25cm is very comfortable for the human eye. And because the angle of view without eye movements is about 60°, a paper size of 30sm diameter is very common. With an A3 format you will have to wander around with your view and you would like to hold the picture more distance to get an impression of the whole scene. I.e. I think the A4 (or letter size) is the ideal format for the folio.
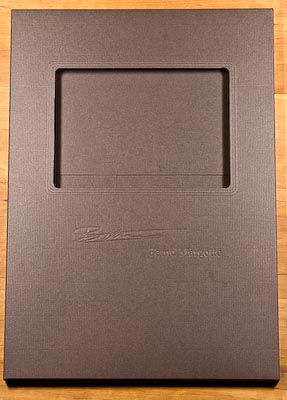
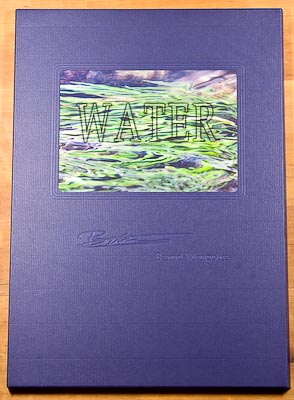
As I mentioned above, the thickness of the paper stack you are planning to hold together with your presentation folder will have an influence on your design. To give greater understanding of what I mean I like to explain the assembly of the presentation folder in more detail. The presentation folder will get its individual touch through a title picture which will be unique for each folio. The title picture is mounted behind the window cut into the front of the presentation folder. To end up with an assembly which has the same thickness over the whole folio format the title picture needs to be printed out on a sheet in the folio format even though it will be much smaller. We will then glue the title picture behind the front side. An additional cardboard is required to give the folder a heftier and more robust touch and also to give the pictures a good base when the folder is opened on the back when laying on the front side. The thickness of the paper used for the title page and the thickness of the cardboard used has to be added to the final thickness left for the paper pile to be fitted into the folder. Keep in mind that you will always have the possibility to use a thicker cardboard if your picture pile is thinner either because that specific folio holds less photographs or because you used thinner photographic paper for your folio pictures. If you layout the folder too thin you will have no possibilities to make room for extra sheets, i.e. it´s better to be on the ‘thick' side.
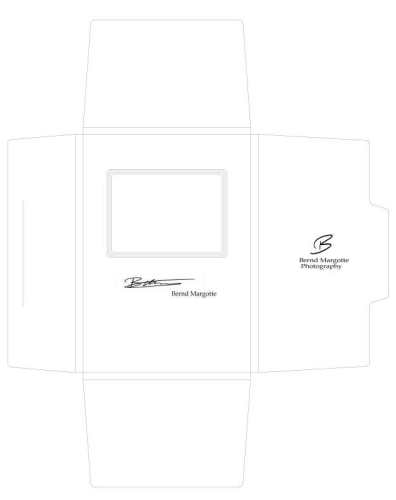
You may use any program to draw your layout. I started with power point just to make some first
drawings: I soon found out that the capabilities of power point are too limiting to get a proper layout.
I then switched to a CAD program which is way more complicate to use but you will benefit from all the
exciting features and exact drawing capabilities such a program will offer. It would be probably more
adequate to use something like Adobe Illustrator but as I had no access to such a program I used my CAD
software instead. The print company will be happy if you hand over a high quality pdf if you are not
able to output an Adobe Illustrator file or similar. You will be challenged by having vector drawings,
which are scalable with no limits, and raster pictures, such as your signature and the logo for the
embossing, on the same layout. This means that you have to be careful when scaling. The raster images
should be scanned on the max resolution to give room for some scaling. Perhaps you have to optimise the
scanned signature for example in Photoshop to get a good bitmap out of your greyscale scan. Sometimes it
is required to increase the line width, which is easiest carried out using the increase
selection
command in Photoshop.
As you are drawing the layout for three different processes, punching, grooving and embossing, you should also have three independent, exactly aligned drawings for the three different processes. But perhaps the company doing the production for you will take care of that. I had to send in only a single high quality pdf file and the printing company created the files out of it to produce the forms required for the production. It will also be the printing people who need to help you with the layout as they know from experience what will emboss nicely and what will not work at all, as some paper allows finer structures to be embossed than others.
The Paper
Selecting an appropriate paper for the folio folder isn't such an easy task as it might appear first
hand. The paper should have a certain thickness for stability reasons. This should come bundled with a
nice surface which will also give a nice feel when holding in your hand. Normally, papers are offered in
a variety of surfaces and you should select one that has a nice touch. Not all papers come in different
colours though finding one which has also a nice colour palette isn't an easy task. Keep in mind that
the colours you select shouldn't interfere with the title pictures which are later attached to the front
cover of the folio folder, i.e. selecting less strong colours is of an advantage. The paper should be
acid-free and ph neutral, otherwise it will deteriorate your photographs over time.
The mechanical characteristics of a paper are important for the embossing part. Softer paper will allow
deeper embossing than harder paper will before the surface breaks. It took me quite some time to find a
nice paper which was also available in Europe . I finally selected a paper called Vice Versa from the
German company Gmund. This paper comes in 300g/sqm thickness and is
available in a quite large variety of colours. It comes in standard sheets of 50cm x 70cm and is easily
available in Europe.
The production
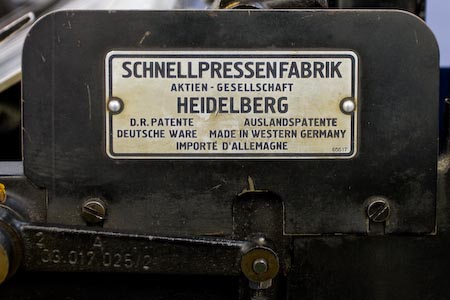
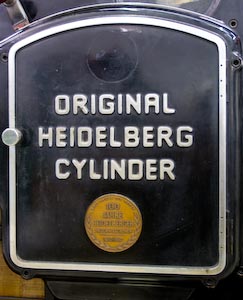
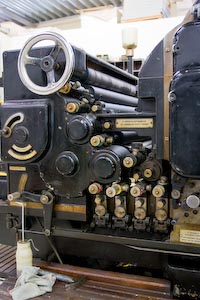
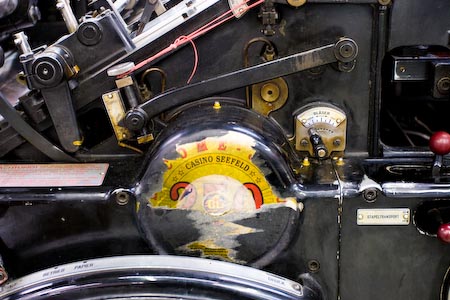
As soon as you are finished with your layout you have to look out for a printing company that is willing to do the printing job for you. This might sound funny, but many printing companies are not interested in low volume productions. Even getting an offer is sometimes not that easy as creating the offer means quite some work for the printing company. They have to investigate pricing for the emboss form, the punching and grooving form, the paper and then they have to estimate the times required to make the machines ready and finally for the production itself. I.e. the printing company needs to have the right size to go for your volume. After quite some time of investigation I found a printing company in our neighbourhood which was ideal for the job. The company Pillwein-Druck is located in the south of Vienna and they were open towards my project and even let me participate in the production. All the photographs on this page covering the production process were taken at Pillwein-Druck. It was a great experience to attend the production of my folio folder.
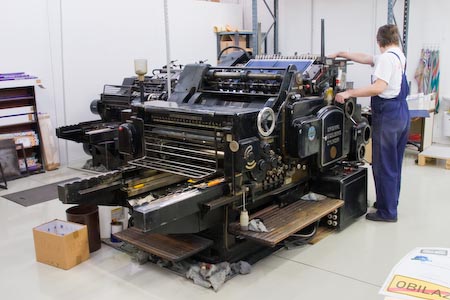
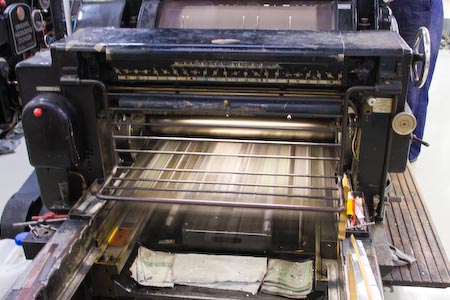
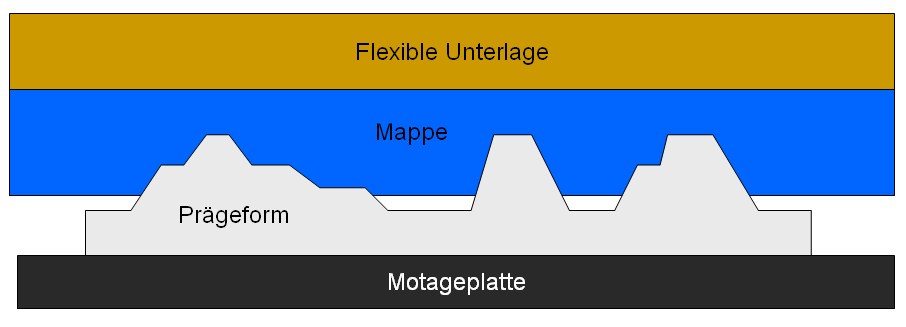
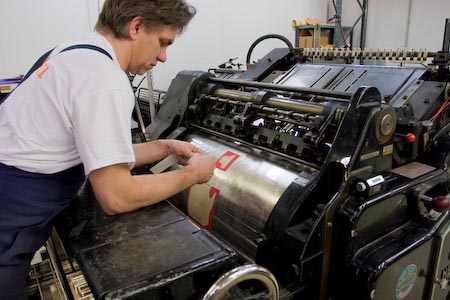
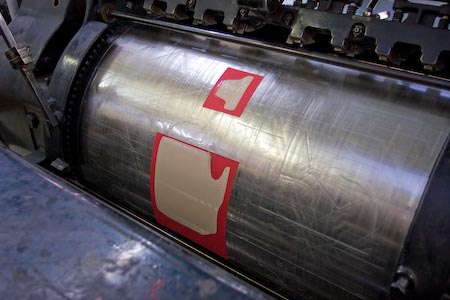
The first processing step is the embossing of the folder. The blanking die will be mounted onto the sledge passing underneath the press drum. The latter will carry the folder paper from the top of the machine to the bottom where it will be embossed being squeezed between the sledge and the drum. The embossing depth can be varied by placing some paper underneath the folder paper. As the folder paper will not be placed directly onto the drum but onto a metal sheet that surrounds the drum the additional paper layer which will lift the paper and make the embossing deeper can easily be placed between the metal sheet and the drum. To guarantee a uniform embossing, a soft material is placed between the folder paper and the metal sheet to act as an absorber.


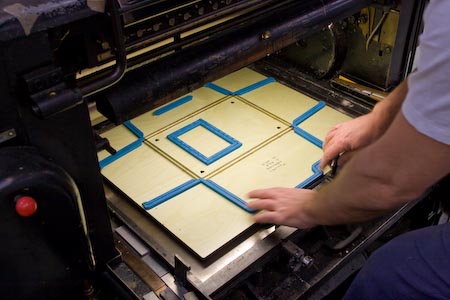
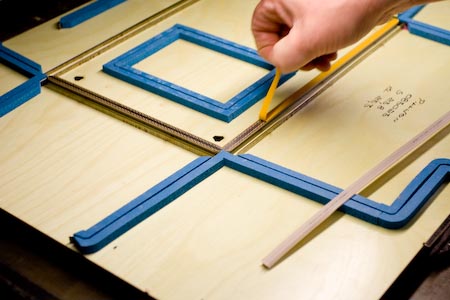
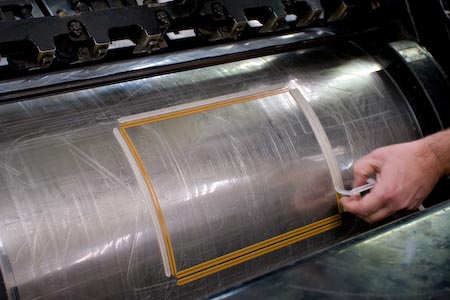
The second processing step is blanking and grooving. The die used is one piece, i.e. the location between the blanking and the grooving die is fixed and the whole die has only to be placed exactly according to the embossing die. The blanking bars are mounted on a wooden base as the grooving bars are. Blanking bars have a sharp, knife like upper edge, the grooving bars have a soft edge. The blanking bars are surrounded by bands of a soft foam material which will ensure that the folder paper will not get stuck inside the blanking die. The grooving process requires notches on the drum for proper grooves. To place these notches exactly to the correct location required, an interesting approach is taken. First of all, rubber notches are placed on the grooving bars. The rubber notches have the actual notches attached to their back. On the back of the latter, a adhesive tape is attached. After locating the rubber notches on the bars, the drum is revolved once upon the sledge. After this cycle, the notches will glue on the drum. After detaching the rubber grooves from the real grooves used for the later process, the press is ready. Some waste paper is used to check the correct placement of the die, after that, the grooving and blanking process can be started.
activated
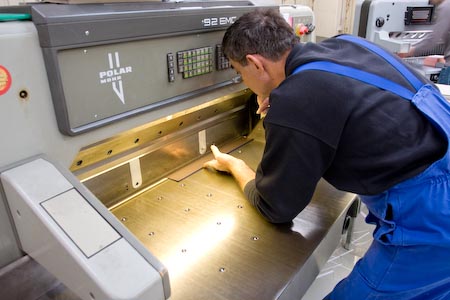
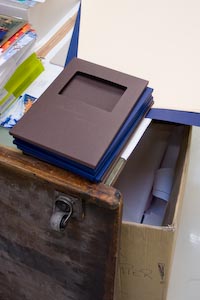

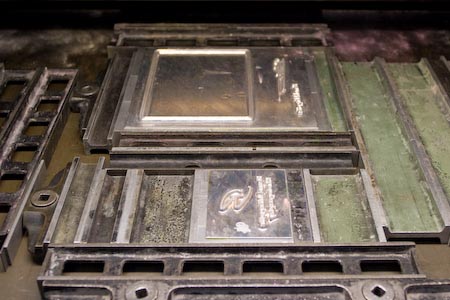
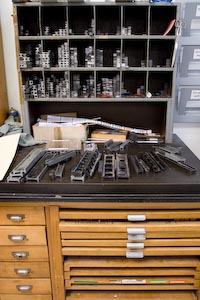
The blanking will not be carried out towards the paper edges, i.e. the blanked part will still stay within the original format. This will ensure that no paper waste will end up inside the machine which could deteriorate the mechanics. The last step is the cutting of the paper. In this step, the edges of the original format will be cut odd such that the blanked part will fall out. This is the final part of the processing, after that, some handcraft is required to finalise the folder.
Handycraft
To give each folio an individual design, a title picture is inserted into the window punched into the front page of the folio folder. The title picture should be printed out on a full format paper, in my case a A4 page. This will make sure that there is no unevenness in the thickness of the folio folder. To give the whole construction a more robust touch and also to give the folio printouts a solid based when the folio is opened on the back when laying on the front, a cardboard is glued to the back of the title picture. You have to make sure that all adhesives should be free of solvents to prevent deterioration of your folio printouts. The same is valid for the cardboard, which should be acid free and possibly also ph neutral. I'm using an adhesive tape to mount the title picture on the folio folder and a spray adhesive to mount the cardboard on the back of the title picture. Both are made for photo mounting, i.e. they are design to be used for this application and fulfil the above requirements. Alternatively a standard paper glue can be used. To finalise the packing, a plastic cover could be used to protect the folio cover when send out by mail.
