Lensbaby
Introduction
The Lensbaby has been around for some time. Recently, the original product names have been changed, and today, there are three different models available. In addition, the Lens-Swap System provides additional degrees of freedom. Combining the Lensbaby with extension tubes or a teleconverter opens up a wide range of possibilities for creative photography.

Muse, Control Freak, and Composer
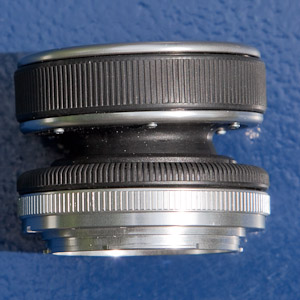
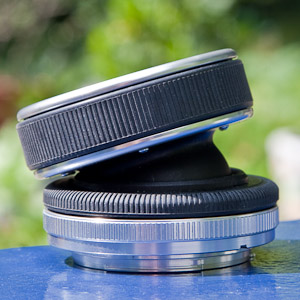
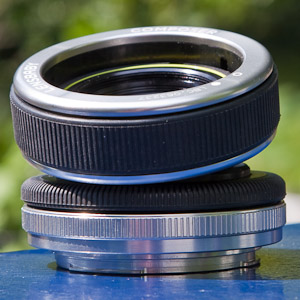
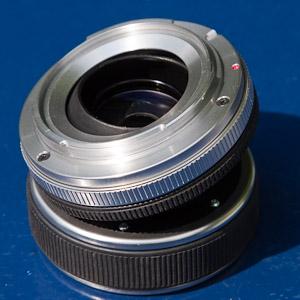
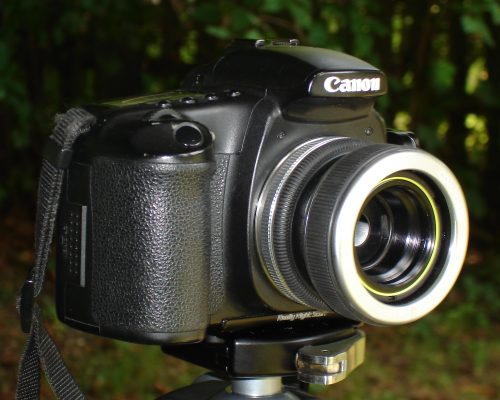
The Muse was the first Lensbaby to hit the market. It consists of a doublet lens mounted on a movable bellows. The bellows serves for focusing by changing its length and tilting (more on that below) the lens to move the area of focus within the image. However, there is no way to lock the once-set position as the bellows cannot be secured. This is where the Control Freak comes into play. It is more suitable for a deliberate, controlled approach, but adjustments to individual parameters are slower, allowing for more playful changes in settings. The latest model is the Composer. In my opinion, it combines the two advantages of its predecessors, Muse and Control Freak. The lens is no longer based on a bellows system but on a ball joint with an adjustable tube. The ball joint serves tilting, and the tube serves focusing. With a ring, the adjustment moment of the ball joint can be continuously set. Pulling the ring tight fixes the ball joint, but you can still focus. This is very practical, allowing for both controlled and intuitive work with this lens. All descriptions below apply to all three lenses. I personally own the Composer.

Tilting
Tilting involves tilting the lens plane relative to the film plane. Normally, this technique is used with large-format cameras (or with special tilt lenses on SLR cameras) to achieve optimal sharpness after the Scheimpflug principle. By tilting the lens plane relative to the film and object plane so that all three planes intersect in a straight line, optimal depth of field relative to the object plane is achieved. With Lensbaby, however, you don't achieve sharp focus across the entire image even with normal imaging (when the lens plane is parallel to the film plane). This is due to the simple lens construction with only two lenses (an achromat, where the two lenses are used to reduce color errors in the image plane). The sharp (of course, a relative term) image is therefore limited to a certain image circle. The diameter of this circle, in turn, depends on the aperture used.
Aperture
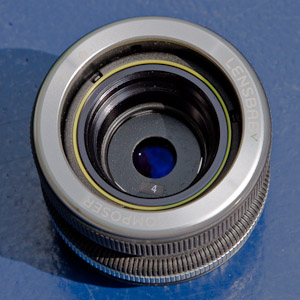
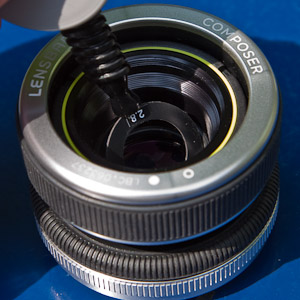
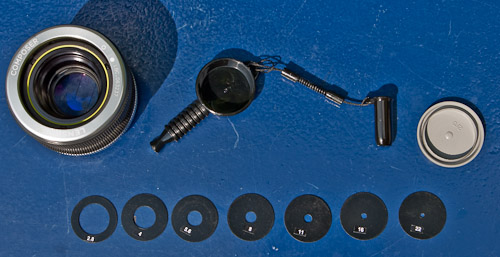
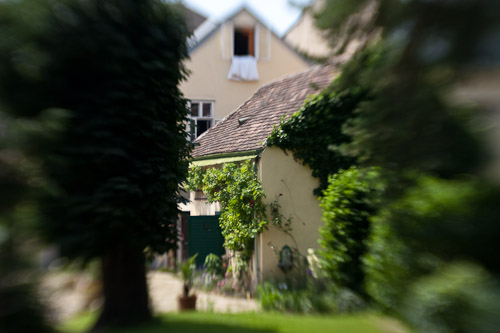
With the Lensbaby, an adjustable aperture is not used; instead, you choose an aperture disc according to your preference. This disc is simply inserted into the lens from the front and held in place by a magnet. Aperture discs ranging from f2.8 to f22 are included. Using a small tool with a magnetic tip, the discs can be easily exchanged. The larger the aperture (i.e., the smaller the f-number, e.g., 2.8), the smaller the diameter of the sharply imaged circle, and the larger the out-of-focus regions in the image. The lens usually comes with an inserted aperture disc of f/4.
2.0 |
2.8 |
4.0 |
5.6 |
8.0 |
11 |
16 |
22
Hover over the f-number to display the corresponding image.

2.0 |
2.8 |
4.0 |
5.6 |
8.0 |
11 |
16 |
22
Hover over the f-number to display the corresponding image.

2.0 |
2.8 |
4.0 |
5.6 |
8.0 |
11 |
16 |
22
Hover over the f-number to display the corresponding image.
When tilting the Lensbaby, the sharply imaged circle within the image moves around, as shown in the illustration below.
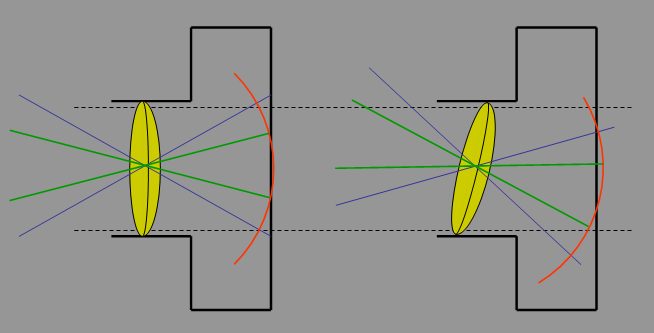
On the left is the "normal position" of the lens. The lens plane is parallel to the imaging plane (sensor or film plane). The blue lines represent the aperture angle of the lens, and the green lines represent the boundary lines of the sharply imaged region. When tilting the lens upward, the entire image circle moves downward, and the sharply imaged region also moves downward accordingly. Since the image is inverted and reversed on the sensor/film but appears upright and correct in the viewfinder, you see a shift of the sharp region upward through the viewfinder. This is very intuitive: tilting the lens upward moves the sharply imaged circle upward. However, that's not the only effect. By tilting, the plane with sharp imaging also moves forward and is slightly tilted backward in its position relative to the sensor (i.e., tilted slightly backward), as shown in the next image:
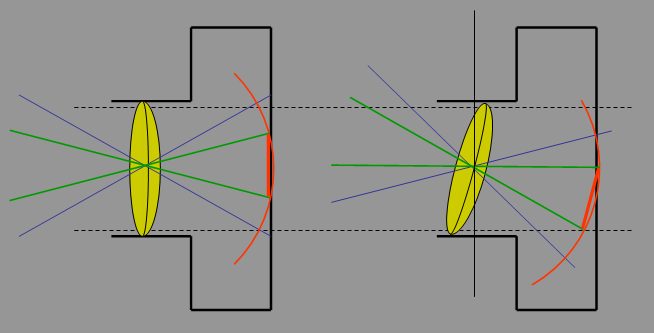
In reality, it's not actually a plane (red, short line on the sensor) but rather a curved surface, as depicted by the red circular line. The degree of curvature depends, of course, on the lens construction. As seen above, after tilting, you need to refocus. Furthermore, you won't obtain a sharply imaged circle anymore but rather an elliptical shape. So, you get an asymmetric sharply imaged area. Naturally, this region will also change with the aperture used. It all depends on the position of the object plane. The illustrated red line is applicable to an object line parallel to the lens.
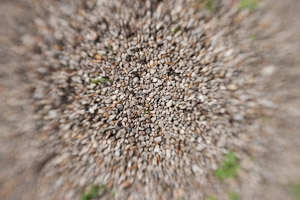
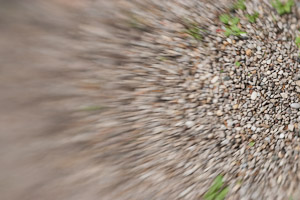
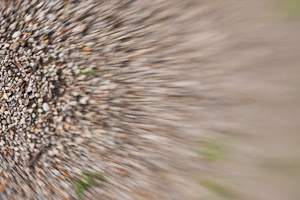
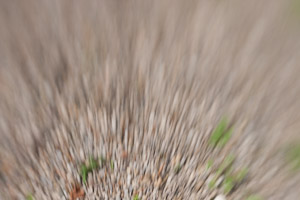
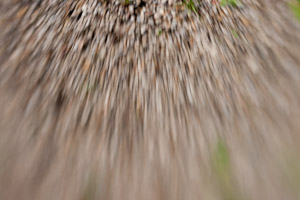
However, it's essential to note that shooting with a Lensbaby requires a slightly different approach than what you might be accustomed to with "normal" lenses and, for example, autofocus.
Procedure
You might be used to first focusing on the main subject using autofocus, storing the distance (by half-pressing the shutter button), and then selecting the composition. Exposure can either be stored during the focusing or measured after choosing the final composition.
With the Lensbaby, the process is not in the typical order, as tilting shifts the sharply imaged region within the frame. Depending on the degree of tilt, you'll never get a sharp image in the center. Additionally, the Lensbaby lacks autofocus, and aperture automation doesn't work. You need to follow a different approach. First, it's beneficial to get a sense of how the sharply imaged region moves within the image. Since refocusing is required after tilting (see above), you can't just tilt back and forth to observe how the depth of field shifts. The easiest way is to practice with a textured, flat surface parallel to the sensor plane. For instance, position the lens vertically downward and photograph the ground (in my shots, a ground with pebbles). You'll need to reacquaint yourself with manual focusing. Note that you need less tilt up and down than left and right since you always have a landscape orientation in front of you (assuming you hold the camera horizontally).
When you spot an object, consider where you want to place it in the image, set the tilt accordingly, and focus. It may sound a bit complicated, but with time, you'll master tilting, and the two steps will be more or less performed in parallel. The Composer excels in this regard. If you're not very experienced, start by fixing a tilt position and capture some objects before trying a different tilt or aperture setting.
Exposure
Since the Lensbaby doesn't have a variable aperture, the camera won't be able to change it. This is not an issue with Canon cameras. Since no aperture contacts are detected, the camera meters with the working aperture and displays "00" on the screen. The automation with aperture priority (time-automatic, Av) works excellently. If you want to vary the exposure time while maintaining a consistent depth of field, it's easiest to change the sensor sensitivity.


Combination with Extension Tubes and Teleconverter
The Lensbaby is particularly interesting for macro photography, allowing creative use of blur and shifting less important parts of the image into the blurry areas, enhancing the overall visual impact. While the Composer isn't designed as a macro lens (with a close focusing distance of about 45cm), you can lower this limit with an extension tube. For a 50mm focal length (the standard focal length of the Lensbaby), you need a 50mm extension tube to achieve a 1:1 magnification ratio. I have three different rings that you can combine as needed; the longest one is 31mm. Even with this ring, you can delve nicely into the macro range. However, note that using an extension tube increases the size of the image circle, reducing luminosity. In other words, the image becomes darker, making it more challenging to focus precisely. If you want to stop down further to increase the depth of field, the image may become too dark to focus accurately. This highlights the drawback of working with a working aperture, and you may want to focus on larger aperture openings. If you prefer everything in the image to be sharp, it's better to use a conventional lens with extension tubes or a dedicated macro lens.
A minor drawback in macro use is the short focal length of the Lensbaby (50mm), requiring you to get very close to the subject. In macro photography, longer focal lengths, typically around 100mm, are often preferred for this reason. You can use a teleconverter to increase the focal length, albeit at the cost of reducing the Lensbaby's imaging performance. This also comes with a loss of aperture—one stop for a 1.4x extender and two stops for a 2x teleconverter. The image becomes darker and more challenging to focus. However, since a teleconverter maintains the same close focusing distance as the original lens but increases the focal length, the subject appears larger on the sensor. Therefore, using a teleconverter not only extends the focal length but also increases the maximum achievable magnification ratio.
Now, let's calculate the magnification ratio of the Lensbaby:
Magnification Ratio = Focal Length ⁄ (Object Distance − Focal Length)
For 50mm and 45cm, you get: 50mm / (450mm - 50mm) = 50 / 400 = 1:8
Now, applying a 1.4x or a 2x converter increases the focal length to 70mm and 100mm, respectively. The magnification ratios become:
Magnification Ratio with 1.4x Converter: 70mm / (450mm - 70mm) = 70 / 380 = 1:5.4
Magnification Ratio with 2x Converter: 100mm / (450mm - 100mm) = 100 / 350 = 1:3.5
While a teleconverter significantly enlarges the magnification ratio, you won't achieve a true macro lens (usually up to 1:1).

Lens Swap System
As if there weren't enough variables, Lensbaby offers a Lens Swap System. You can combine four different lens inserts with all three Lensbaby models. The available inserts are:
- Double Glass Optic (included with Lensbaby or built-in; it's a coated doublet, a "two-lens" system)
- Single Glass Optic (only one lens, uncoated singlet, a "one-lens" system, 50mm focal length)
- Plastic Optic (only one lens, singlet, 50mm focal length)
- Pinhole/Zoneplate (pinhole camera with aperture 177 or zone plate with aperture 19)
Among these, only the Double Glass Optic allows for a sharp image in the center of the frame (or at a different location depending on tilt). The Single Glass Optic produces a softer image, and the Plastic Optic is even softer.
Of particular interest is the Pinhole attachment, allowing you to turn your camera into a pinhole camera easily. This can also be achieved with a camera cap with a very small hole. The optimal diameter of a pinhole can be calculated as follows:
Dopt = Square Root(b), where b is the distance from the hole to the sensor (in meters), and Dopt is in mm
For a distance of 50mm, you would get Dopt = 0.2mm.
The hole should be drilled (or pierced) in as thin a medium as possible. The simplest way is to drill a larger hole in a camera cap and stick on aluminum foil with a small, round hole pre-pierced. However, unlike the Lensbaby, you won't be able to tilt with a pinhole camera.
For a pinhole attachment, assuming b is 50mm, and considering Lensbaby's specified aperture of 177, you would get a hole diameter of 0.28mm, close to the previously calculated value.
The Zoneplate is based on light diffraction. Like a Fresnel lens, concentric circular elements are used to create an image. However, unlike the Fresnel lens, no transmissive medium (glass) is used; instead, black and transparent areas are printed on a film, forming a diffraction optic.
Lensbaby Gallery
Check out some images taken with the Lensbaby Composer in the Lensbaby Gallery.