Polar Lights 2013 Muonio
Introduction
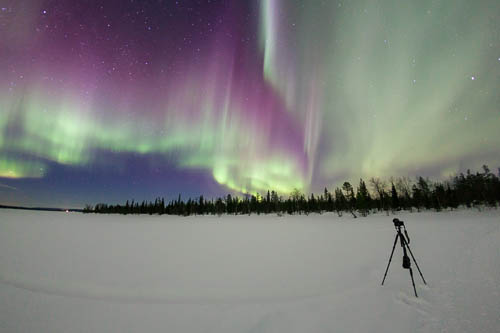
For the eighth timewe travelled this winter to the north of Finland. Above the Arctic Circle the probability to see aurora is very high and we were very lucky this year and were able to observe and photograph the beautiful celestial phenomena several times. 5 years have passed since my last report about auroral photography; time for an update.
Forecast
Today it is relatively easy to query the activities in the earth's magnetic field via an app, for example. I use the App Solar Monitor.
1) Overview screen with the current Kp index and the activity displays for Solar X-Ray Flux and Geomagnetic Field,
2) Simulation of the northern auroral oval with the help of which one can estimate the extent of the oval.
3) Prediction of the geomagnetic field for the next three days
4) Kp Index recording with 3-hour averages
The Solar Monitor provides comprehensive data around the solar wind, from data from the SoHo probe to measurements of the Earth's magnetic field. The easiest way is to look at the Kp Index from time to time (the first screen shows the current Kp Idex). This index tells you how high the 'activity' in the Earth's magnetic field is and how high the chances are of spotting auroras. However, the minimum value for sighting the aurora depends on the distance to the magnetic pole. North of the Arctic Circle in Northern Europe a Kp index of 1-2 is sufficient, in Central Europe it is significantly higher. Only recently (17.3.13) a Kp index of 6 was reached; with such high values one can observe also polar lights even in Southern Sweden.
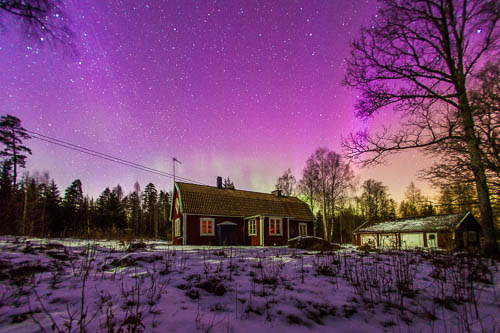
The picture below was taken during a Kp index of 6 about 150km north of Malmö. While in the north one sees greenish lights much more often, further south they are rather red; in the picture below the whole sky is reddish, even the snow areas lying in the shade are illuminated red; the moon illuminates the scene from the left. On the horizon, there are also greenish lights; these are obviously at lower altitudes. As the auroral colors mix with the moonlight, violet colors also appear in the upper image areas.
The map below gives an impression of which kp index is needed for which latitudes in Europe to see auroras. As aurora borealis are active at altitudes of 200km they can be seen 4-5degrees further south (if you have a free horizon to the north). On the Arctic Circle the Kp Index is not necessarily a sign if you see auroras at all, but rahter how strong they will be.
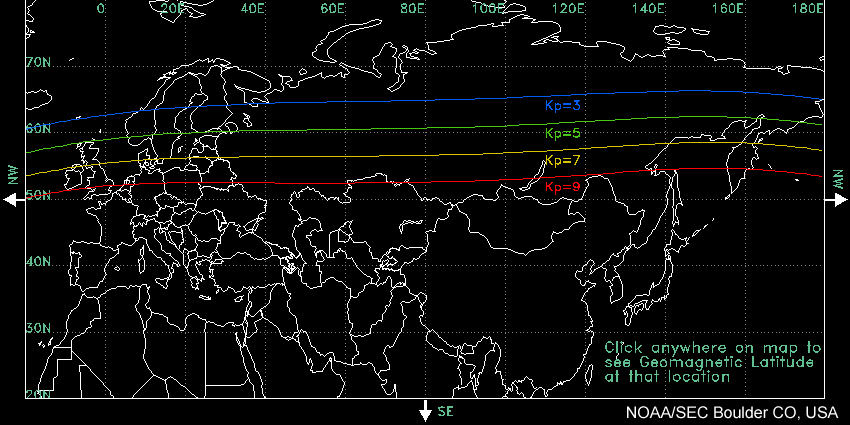
However, the Kp index is displayed by Solar Monitor as a 3 hour average value (the first screen also shows the current value); so you should interpret these values rather as a trend, as you would interpret a weather forecast. Solar Monitor can also make a forecast for the Earth's magnetic field, but this information should be taken with even more caution. We wee able to observe beautiful auroras at the forecast 'quiet to unsettled'. So the safest thing is still to observe the sky itself.
Weather
The weather is actually the biggest uncertainty factor. If at certain places in Lapland auroras are theoretically visible on more than 300 nights per year, the weather unfortunately does not allow that. Much more important than a high Kp index is a starry sky. And the weather in the far north can change very fast. We had at least two snowfalls within two weeks at twilight to find the clearest starry sky about 1 hour later. This year the weather was very good and we had a lot of clear nights: during all these nights we observed aurora borealis; of course in very different strengths.
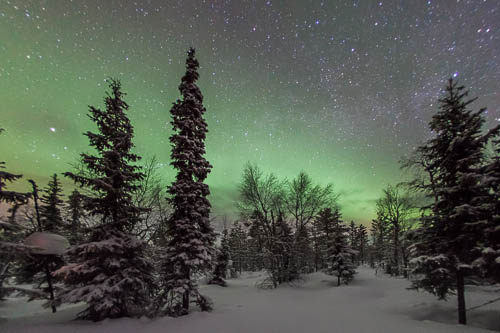
The weather forecast is to be taken with even more caution than the Kp Index forecast. I also use an app for the forecast, but the forecasts for Lapland were more often than 50% off; on vacation it doesn't really matter; you just react to the weather and have the camera ready. I am always very anxious to have enough empty memory cards and charged batteries at ready so that you are immediately prepared to get out.
Visibility
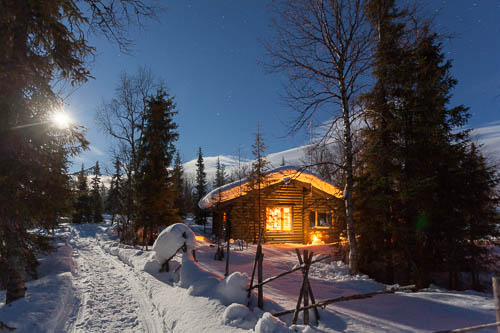
What can be done to increase the chances of successful observation? Find as dark a place as possible with as little ambient light as possible. First of all you can see the auroras much earlier due to the better dark adaptation of the eye and secondly the observation without extraneous light is much more impressive. Thirdly, you don't have to deal with the annoying sources of interference when taking pictures. Thus, one should take care that the accommodation is located in a place that offers as little extraneous light as possible. This is not so easy to find and even in the age of Google Earth, there are certain limits. But already the distance to the next village and street suggests a certain light pollution and the exact details can be found out from the landlord of the house. In my opinion, a hotel is less suitable, as one does not always want to convince all hotel guests to extinguish the lights when polar lights are on their way. This year we had extraordinary luck: Our hut was far away from a village (approx. 10km) and a street lamp was not there. Only a ski area about 15km away lit up the sky.
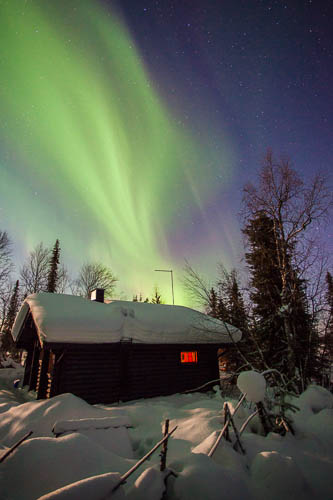
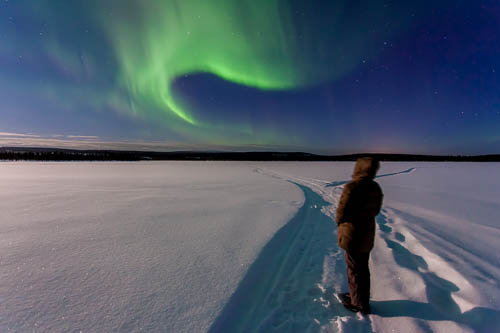
With time you will also learn to recognize weak lights: Is that now haze what I just see or polar lights. Since the eye only sees black and white at low light density, the distinction is not trivial. But when the cloud has suddenly disappeared within seconds, the case is clear and taking a picture with the camera makes even the last doubts disappear. By the way, also weak polar lights can be beautifully photographed; one only needs some patience and above all long exposure times.
One should also have a clear view of the northern horizon. In the middle of the forest the view is very limited. But luckily, there are a lot of lakes in Lapland that are accessible in winter and therefore ideal for auroral observation. But one should check beforehand if the lake is also easily accessible, for example over a cross-country trail or a track of a snowmobile; otherwise only snowshoes help so that one does not sink too deep into the snow.
Photography
Lenses
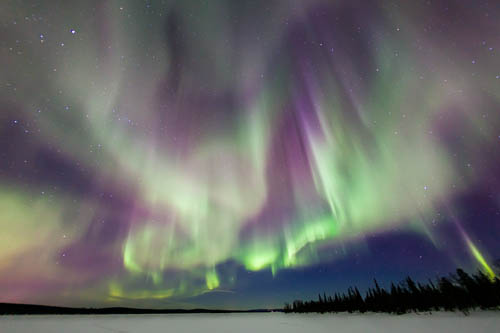
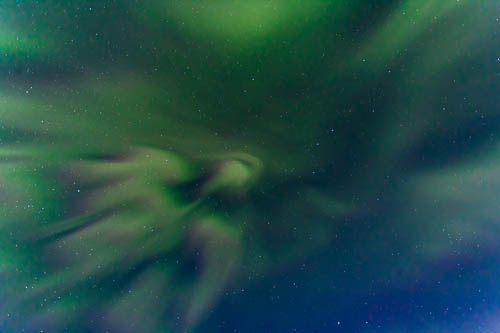
To start with: Not all phenomena can be depicted as observed by the eye. This year, for example, we saw several pulses of weak polar lights. Thereby single curtains are created within a relatively small sky section of a few degrees for about one second and then disappear again immediately. In some cases several such light points appear at the same time and in different places, so that a whole concert is formed. One can only be astonished and watch. With brighter curtains, the movement is sometimes so fast that one can only capture the individual shapes on the photo washed out. In some cases, the intensity increases so quickly that one cannot react to it; for example, because the camera is just exposing for 15 seconds. By the time the device is ready again, everything may already be over. It doesn't matter: you also want to observe.
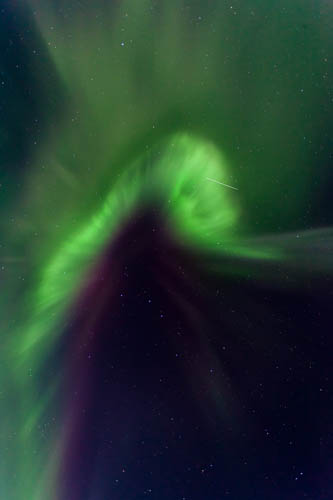
But there are two factors that have a significant influence on successful photography. I assume that one uses a DSLR with a good sensor, a stable tripod with snowshoes and possibly an electronic remote trigger. The two factors refer to the lens: It should cover as wide an angle as possible and at the same time have a high light intensity. I prefer to use a fish eye lens on a full frame camera. This year I used a camera with a full frame sensor (Canon 5D2) and a camera with an APSC sensor (Canon 20Da) in parallel, whereby I used the latter mainly for time-lapse shots; more about this later. In any case, this year I really noticed how much the smaller sensor restricts the field of view. Also when using the Fish Eye lens on an APS-C camera, the angle is often too small. By the way, today it is very easy to remove the Fish Eye characteristic in the computer by simple means, e.g. by activating the corresponding profile in Lightroom. Beside the 15mm 2.8 Fish Eye I also have a 17-40mm f4 zoom with me; but here the field of view is already a little limited with the full format sensor and aperture 4 is also not very bright. Therefore I can only recommend a Fish Eye or a 14mm lens with high speed.
Focus
I have often been asked how I focus the lenses for auroral photography. So far this has never really been a problem, because I always had a light source close by that I could focus on. But now the situation was very different and so I had to remember to either focus the lens beforehand or to leave the light in the hut on, to move about 10-20m away from it and then focus. I use the auto focus of the camera; after focusing I deactivate the AF and don't change the focus anymore.
It's even easier with Live View to a bright star. However, this is not so accurate with the 17-40mm zoom. It's easiest with the Fish Eye lens: The lens has an infinite stop which is very accurate.
Exposure time
Of course, this depends on three factors: The aperture, the sensitivity (ISO number) and the luminosity of the polar lights. With weak lights I expose 30 seconds at ISO 3200 and aperture 2.8; with bright lights at ISO800 and aperture 2.8 only 5 seconds or shorter. So if someone tells you he only exposed one second, it doesn't say much: at which aperture and what sensitivity should you ask then. I expose the lights in such a way that they fall approximately in the middle of the histogram.
Moon
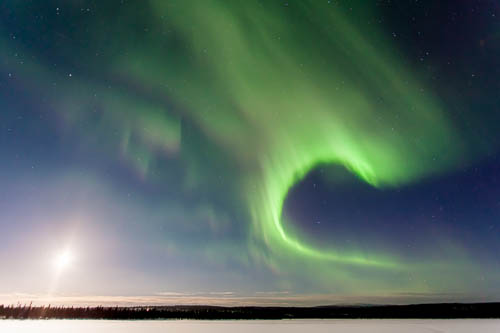
Many photographers avoid moonlight when they want to shoot auroras. The sky is especially dark at new moon and the contrast to the lights is optimal. The brighter the moon becomes, the more the contrast suffers and weak lights are difficult to see. But I think the moon illumination is a very important element to bring the landscape into the picture. If you only want to create pictures of the Aurora without the landscape, the moonlight is certainly disturbing. But if you include the landscape, the moon is a welcome source of light. Therefore, I always try to plan the holiday in such a way that it meets a full moon. This time we had a full moon at the beginning of our visit. After full moon, the moon rises about 2 hours later every day and one has very soon the first half of the evening moon-free and afterwards a moon illumination, thus both scenarios.
Panoramas
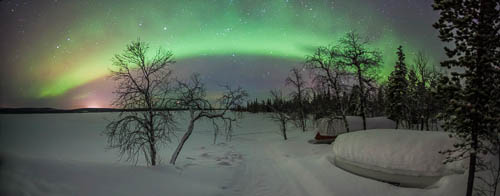
The auroral oval occupies a large part of the sky. When it stands directly above the observer, it is visible from the western horizon to the zenith and the eastern horizon. If it stands a little more to the north, a smaller part of the sky is illuminated, but the extent is usually still huge. Even with a full format Fish-Eye lens (i.e. a Fish Eye which does not only image a circle on the sensor but uses the whole sensor area) it is not always possible to capture the whole phenomena on one image. This is where panorama photography comes in handy. One takes several pictures and combines them later in the PC. This also works very well with a Fish-Eye lens. However, the polar lights should only move to a limited extent during the exposure, otherwise the single images cannot be assembled later. Especially with low activity the movement of the lights is very low and panoramas can be created very nicely. It is also best to use a panorama mounting bracket to compensate for the parallax error.
Time-lapse recordings
Unfortunately, it is not possible to capture the movement of the lights with a photograph. Due to the low light density, filming is only possible with high effort, but time-lapse shots can be taken very easily. All you need is a DSLR with a fast lens and a timer trigger (intervallometer). The exposure time and the aperture are kept constant over the whole period, the white balance is also fixed (if you shoot in RAW you can adjust it later). It is recommended to save the images in RAW format so that you can edit them later. Nowadays, it is possible to export films directly from Lightroom with special slideshow templates, thus one can edit the images as usual in Lightroom and then export them as a film.
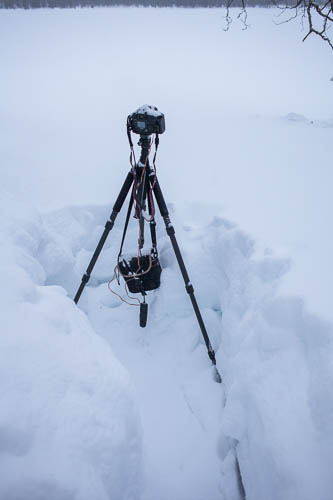
The camera has to be equipped with a big memory card so that one can save several hundred RAW images on it. For example, if you want to create a second time-lapse with 30 frames per second, you need 600 shots. With e.g. 10MBite per shot this is already 6GB. Since you take so many pictures with a long exposure time, you also need an external power supply, so that the battery doesn't get exhausted during the most beautiful appearances. The cold temperatures cause the efficiency of the batteries to drop, so you have to oversize them. I use a lead-gel battery. Alternatively, one could use an extension cable and get to the next socket, but a suitable socket is usually very far away and one is very limited in the choice of the recording location.
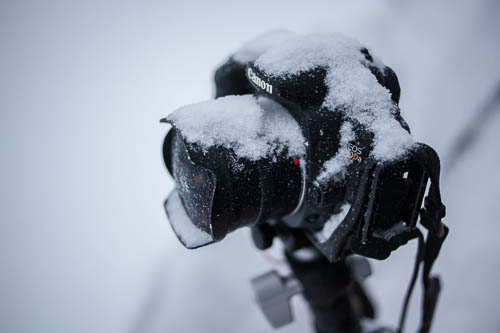
As in normal photography, it is advisable to store the cold camera in a plastic bag after a longer period of outdoor use when you go back inside, otherwise a lot of condensation water will form on the camera surface. I use a waterproof Ortlieb bag, which you can buy in an outdoor store.
