high dynamic range photography
introduction
The dynamic range of digital SLR cameras (DSLR) is limited to approx. 9-10 f-stops. Analogue film too has a similar dynamic range. Colour negative film has a dynamic range of about 8-9 f-stops, colour slide film has a dynamic range of 6-7 f-stops and black-and-white film has a dynamic range of over 10 f-stops (up to 13-14 f-stops). The above mentioned information for the DSLR is only valid under the assumption that one shoots in RAW format and then treats the images optimally in the RAW converter. If the files are recorded in a different format, e.g. jpeg, they have a significantly lower dynamic range.
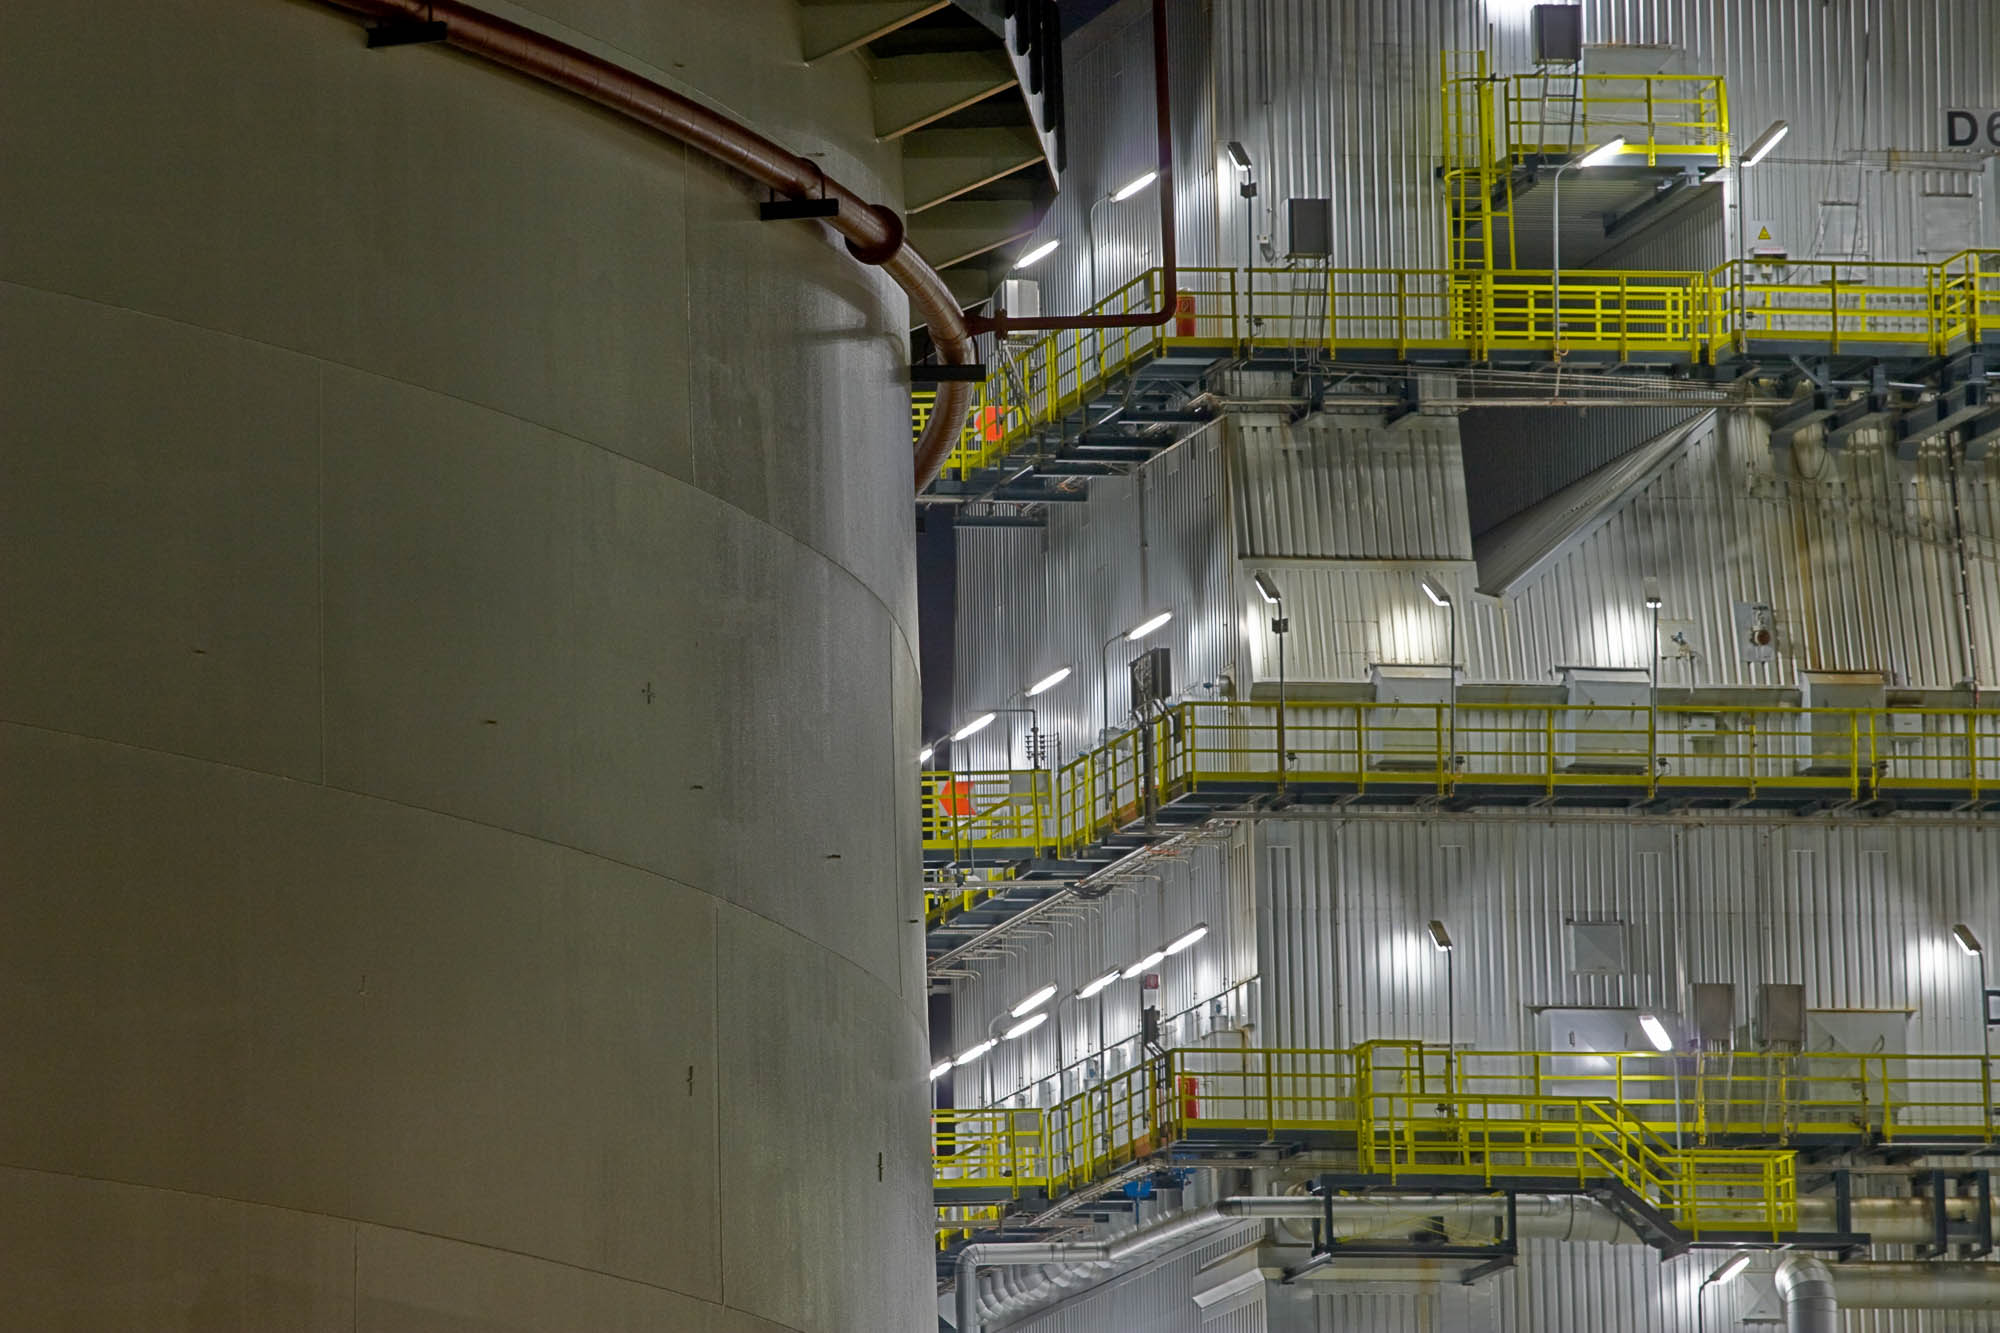
The dynamic range of different objects is of course very different. A landscape under an overcast sky has a dynamic range that can usually be managed with a DSLR. But as soon as the sun comes into play and casts hard shadows into the illuminated landscape, the dynamic range of the scene is significantly increased. If you also want to take the sky with bright clouds or even the sun itself into the picture and the picture has shadow parts at the same time, the dynamic range increases further and can quickly exceed the range of a DSLR by several f-stops. The entire dynamic range can be managed with HDR (High Dynamic Range) technology. Either you use special cameras that can cover a high dynamic range or, and only this will be discussed in this article, you use a normal DSLR, take several pictures of the object in question and assemble the pictures later in a suitable program to an a HDR picture. The HDR image is then converted back into an LDR (Low Dynamic Range) image in a process called tone mapping, so you can view it on a normal screen or print it out. A screen also has a limited dynamic range, so a HDR image cannot be displayed directly on a screen. There are special HDR screens (e.g. from Brightside), but they are still very expensive. The same is true for printing with the restriction that the dynamic range is even smaller here, smallest for matt papers. While on papers with the highest dynamic range one can still cover approx. 7 f-stops, on matt paper there are still 5-6 f-stops. Alternatively, the high dynamic range can be mastered by taking several shots with different exposures and then processing them with an exposure blending procedure. I will also briefly examine this technique in this article..
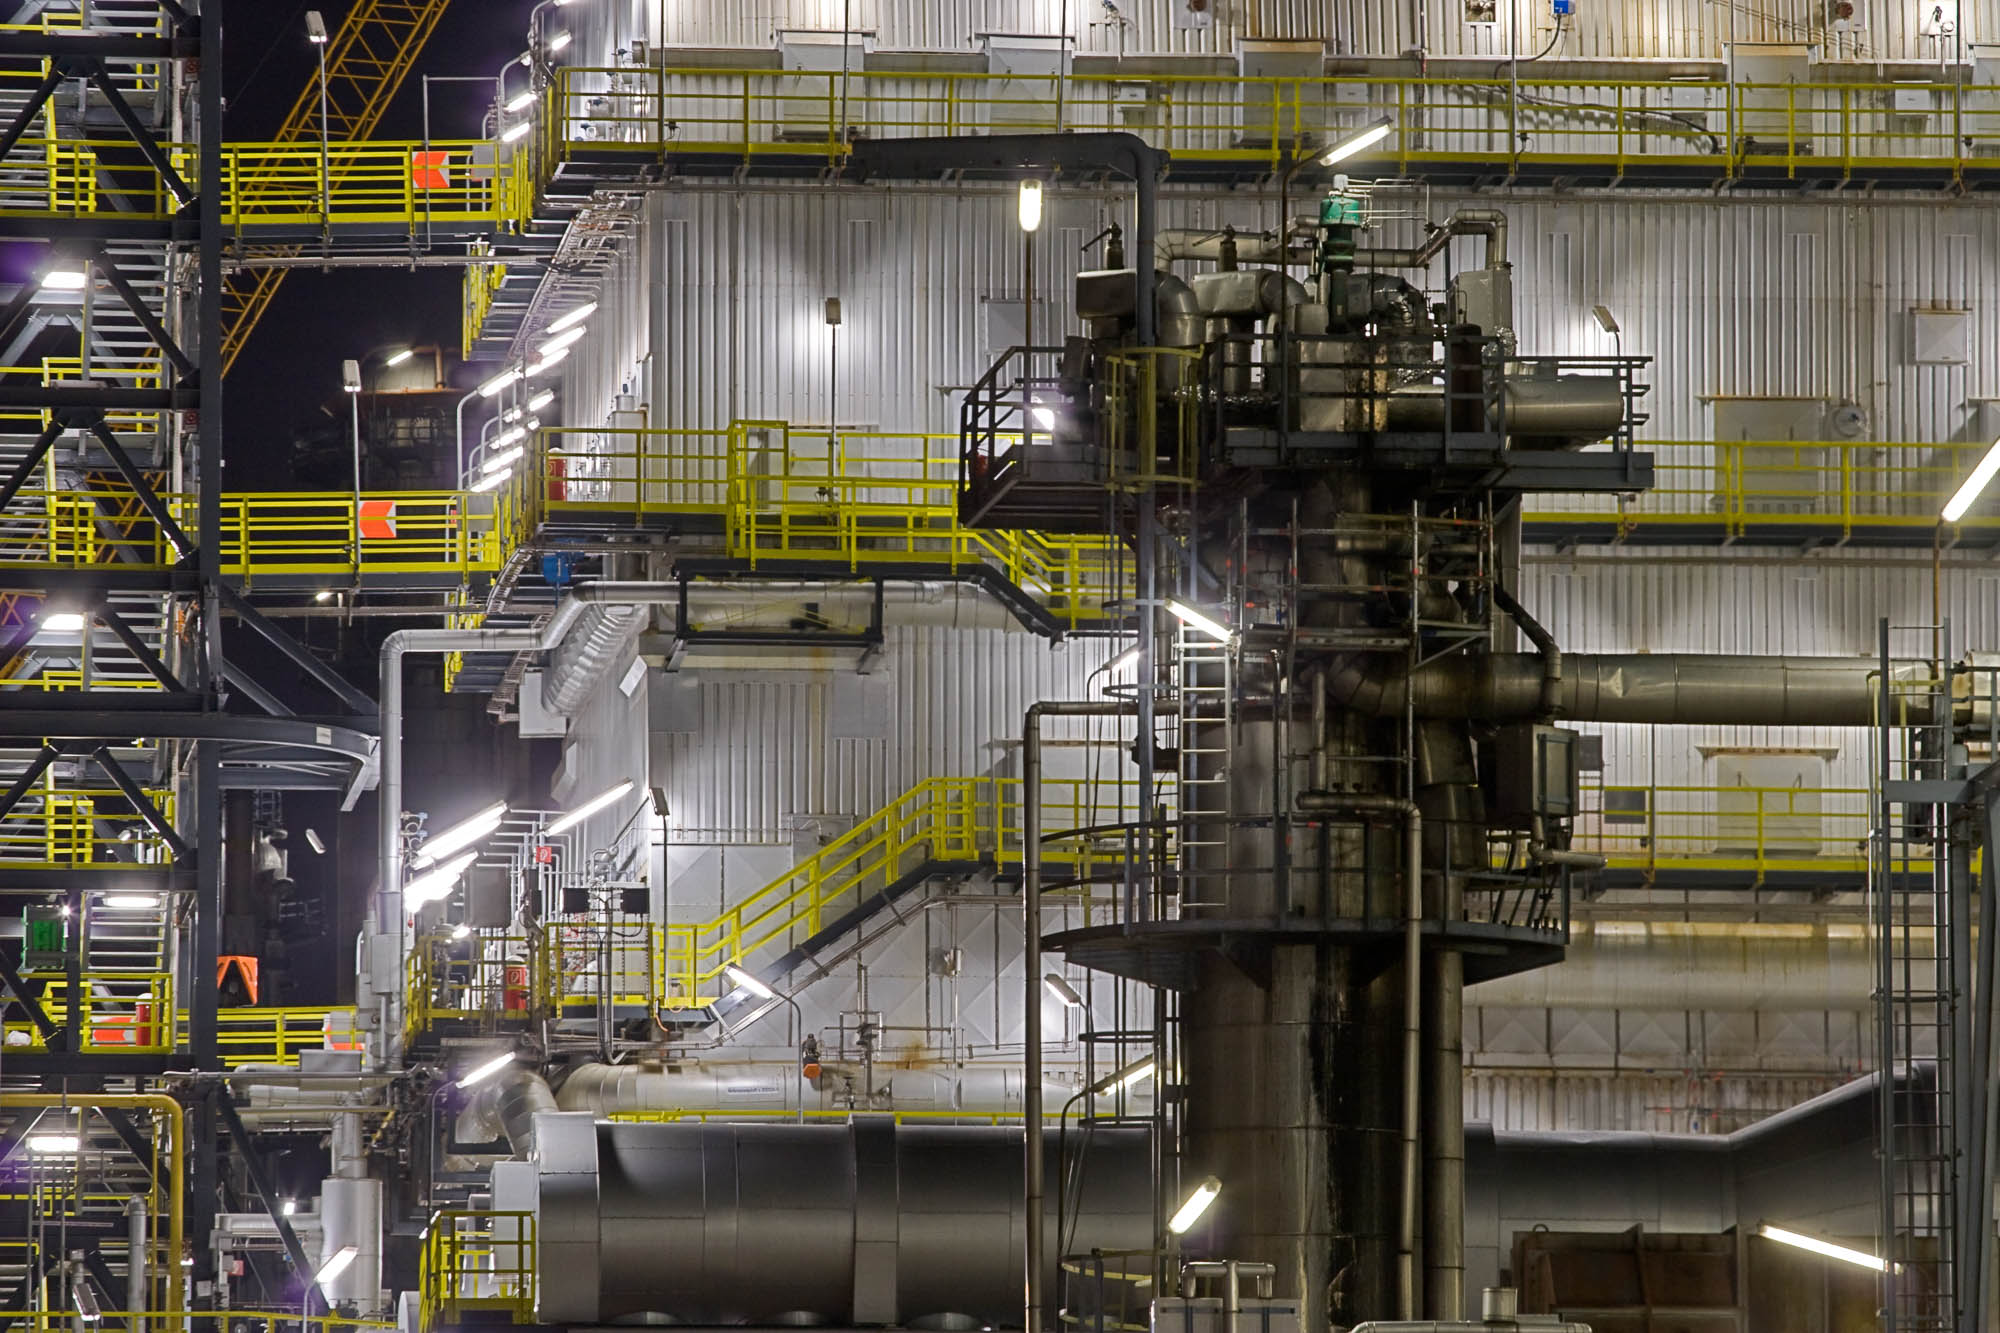
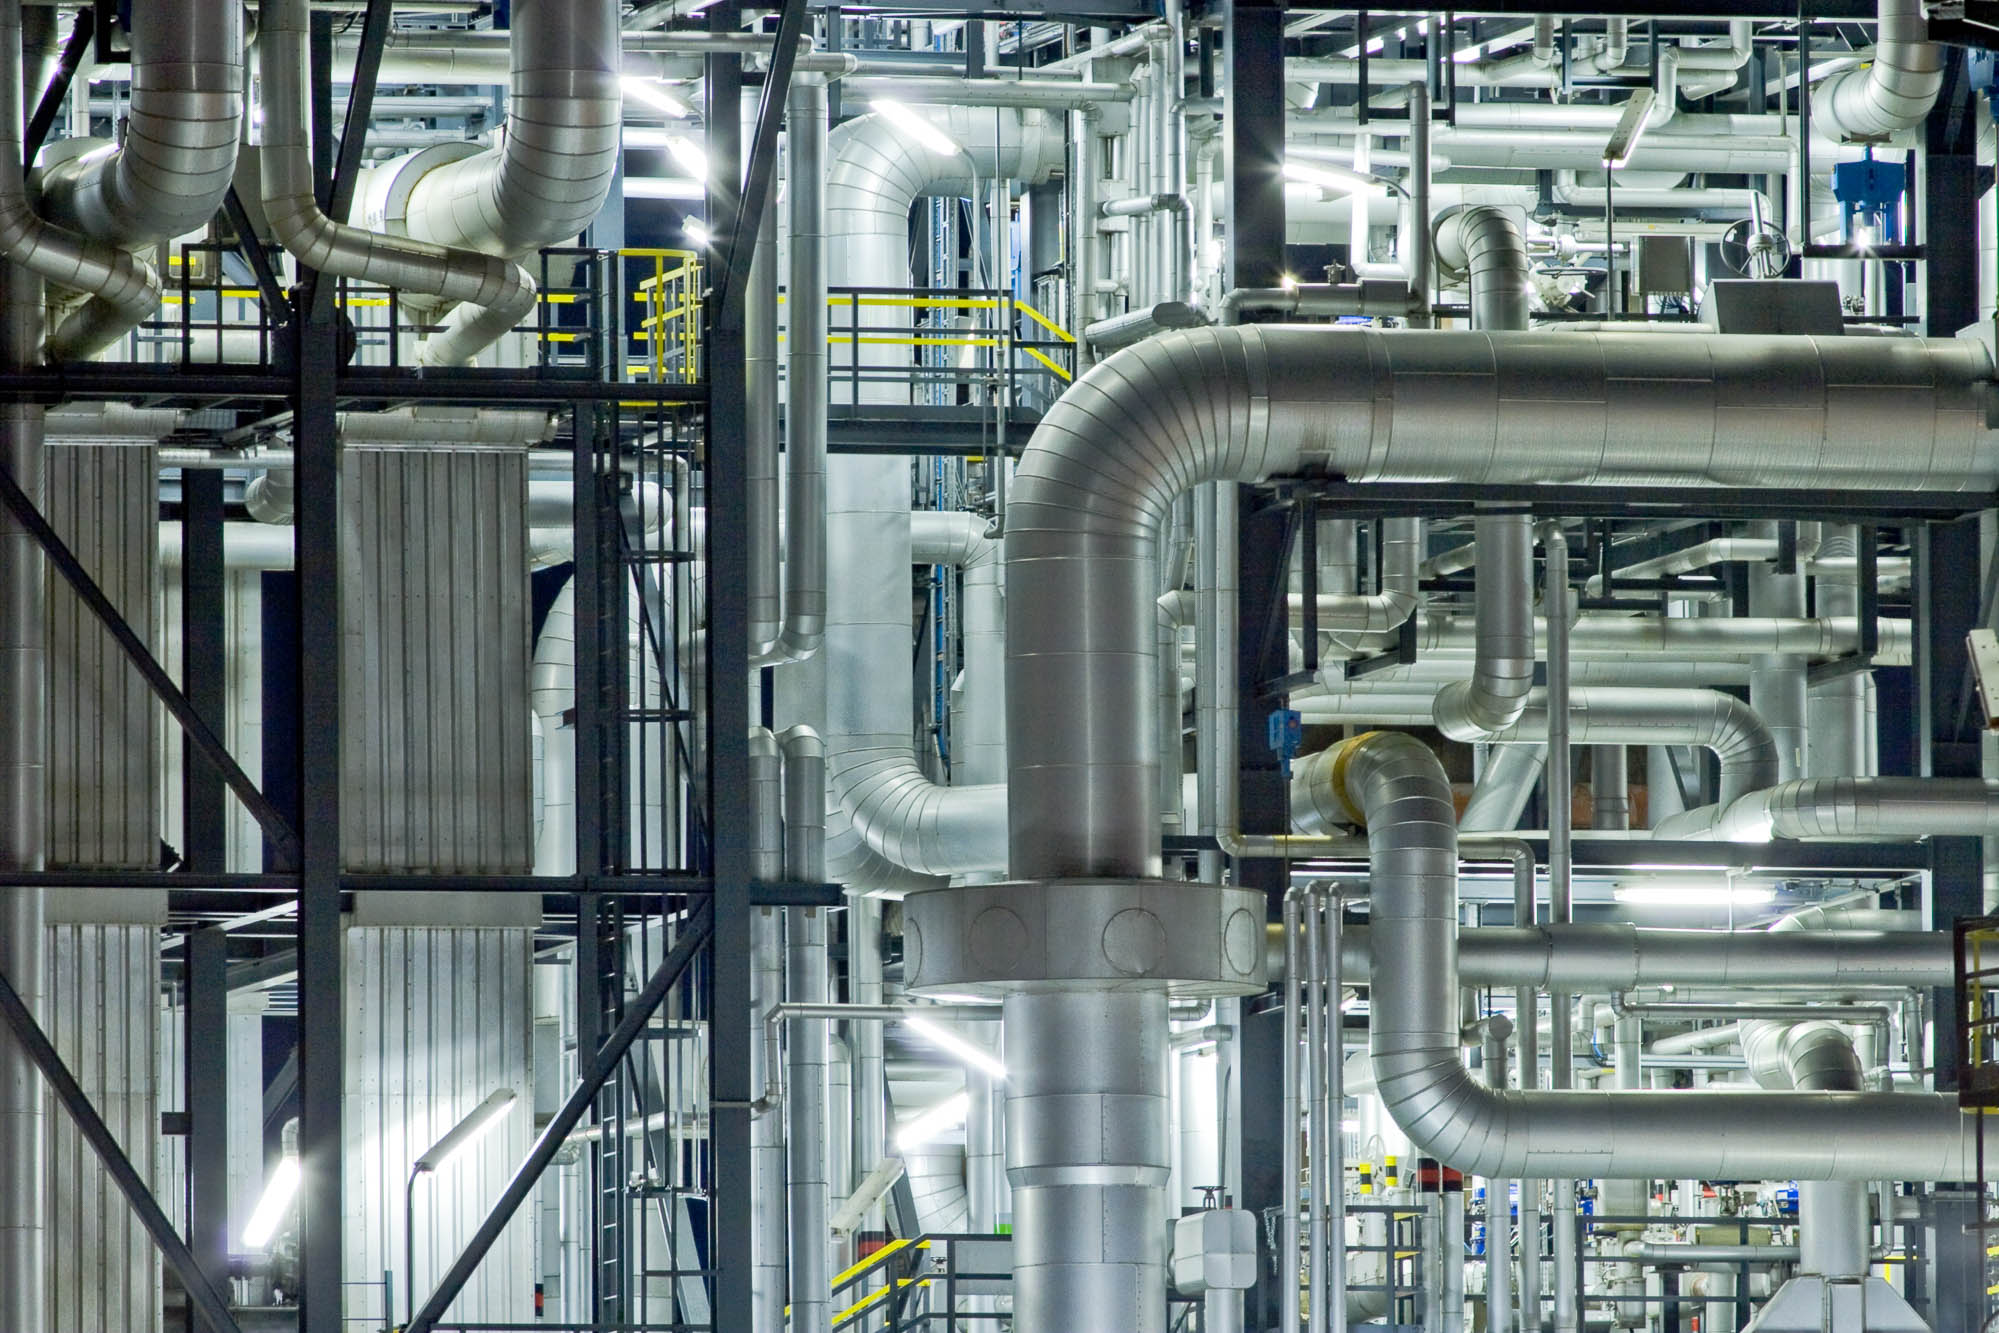
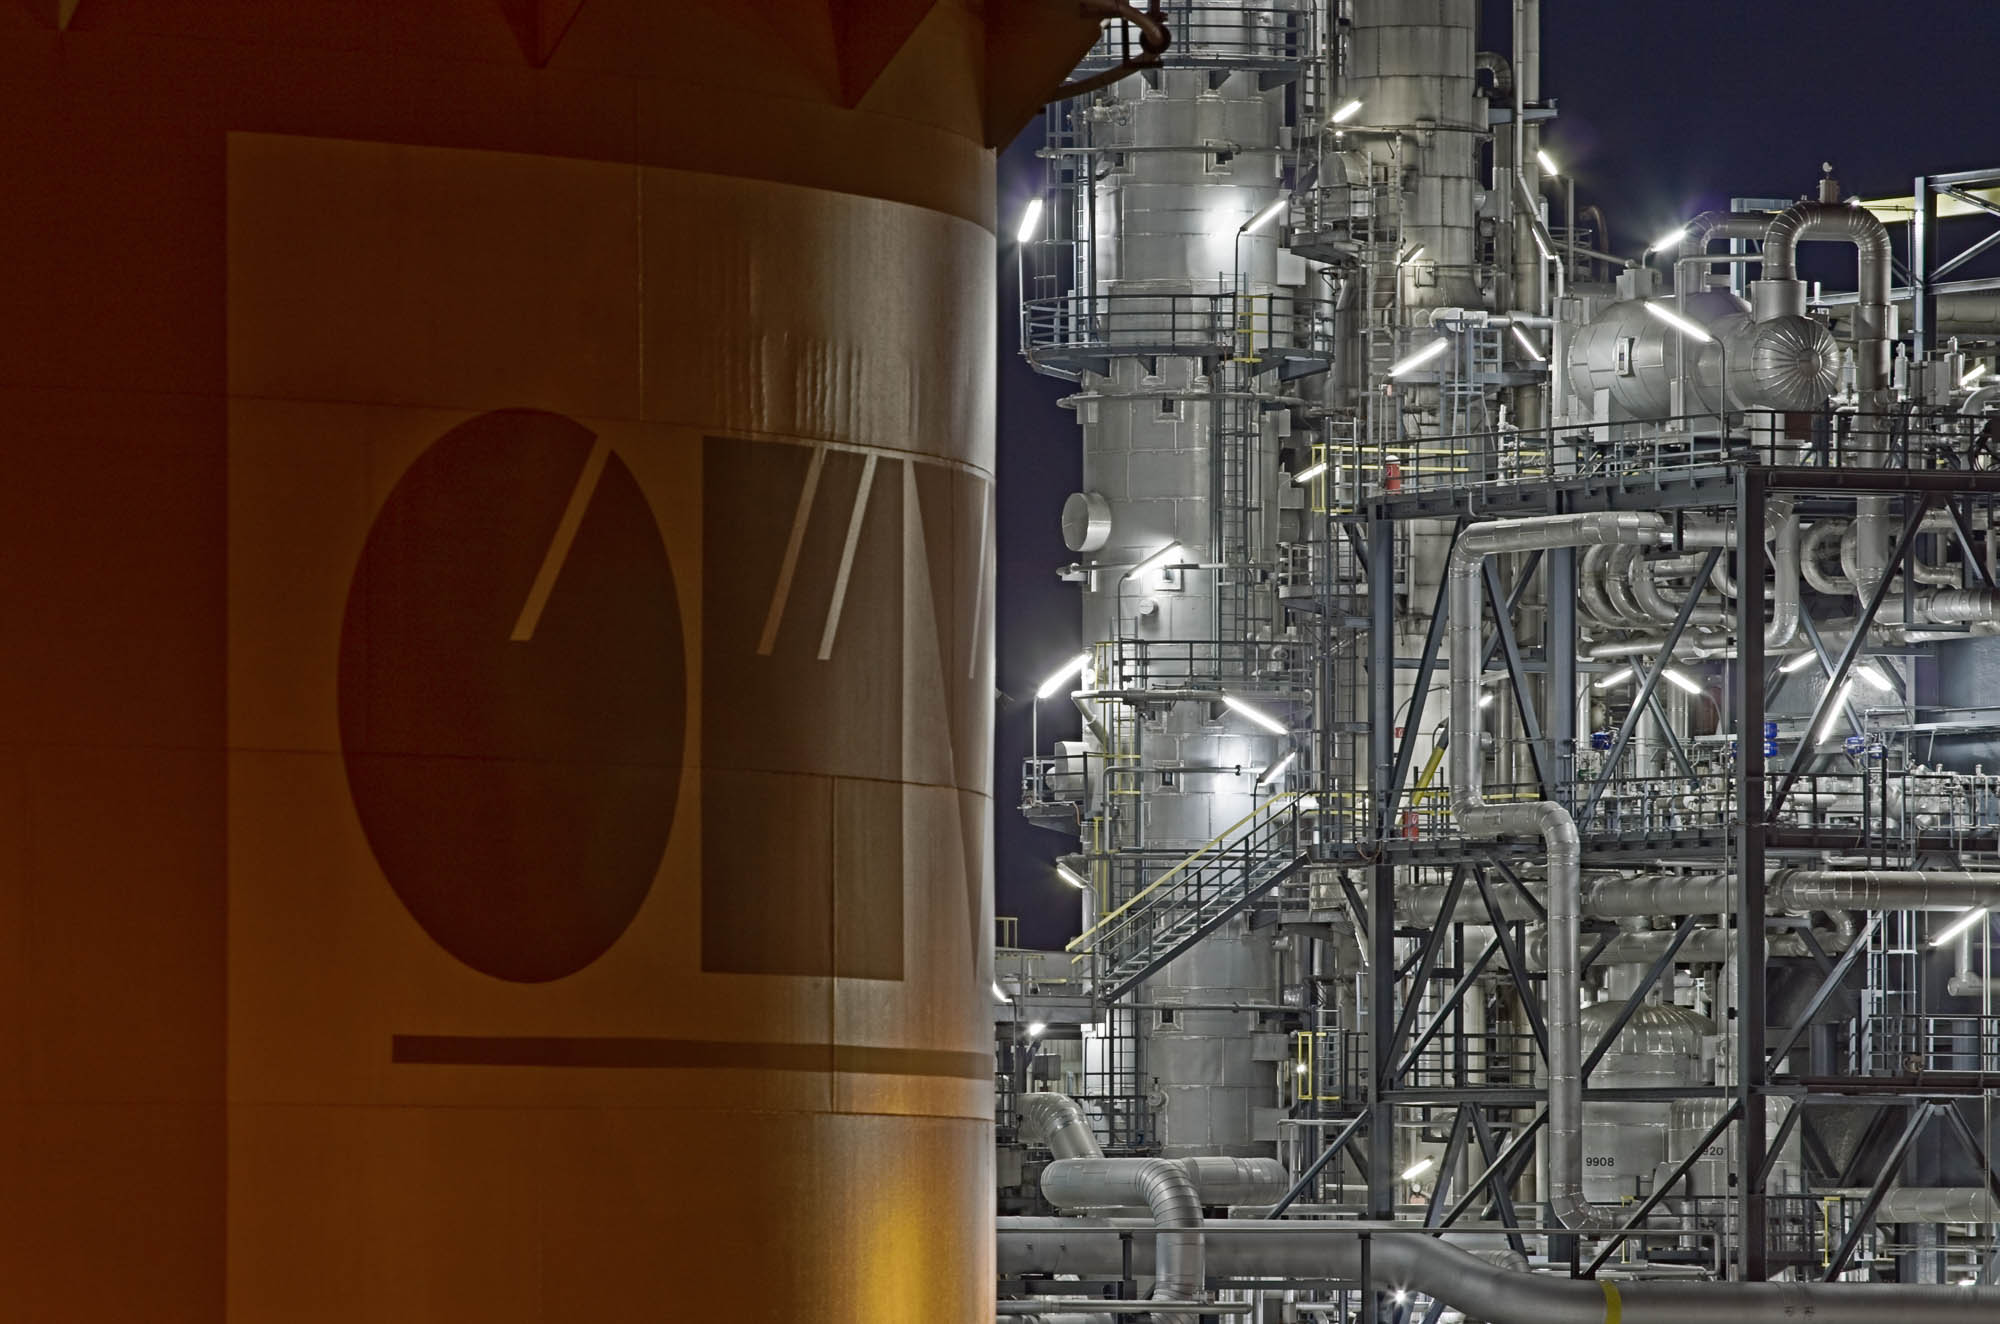
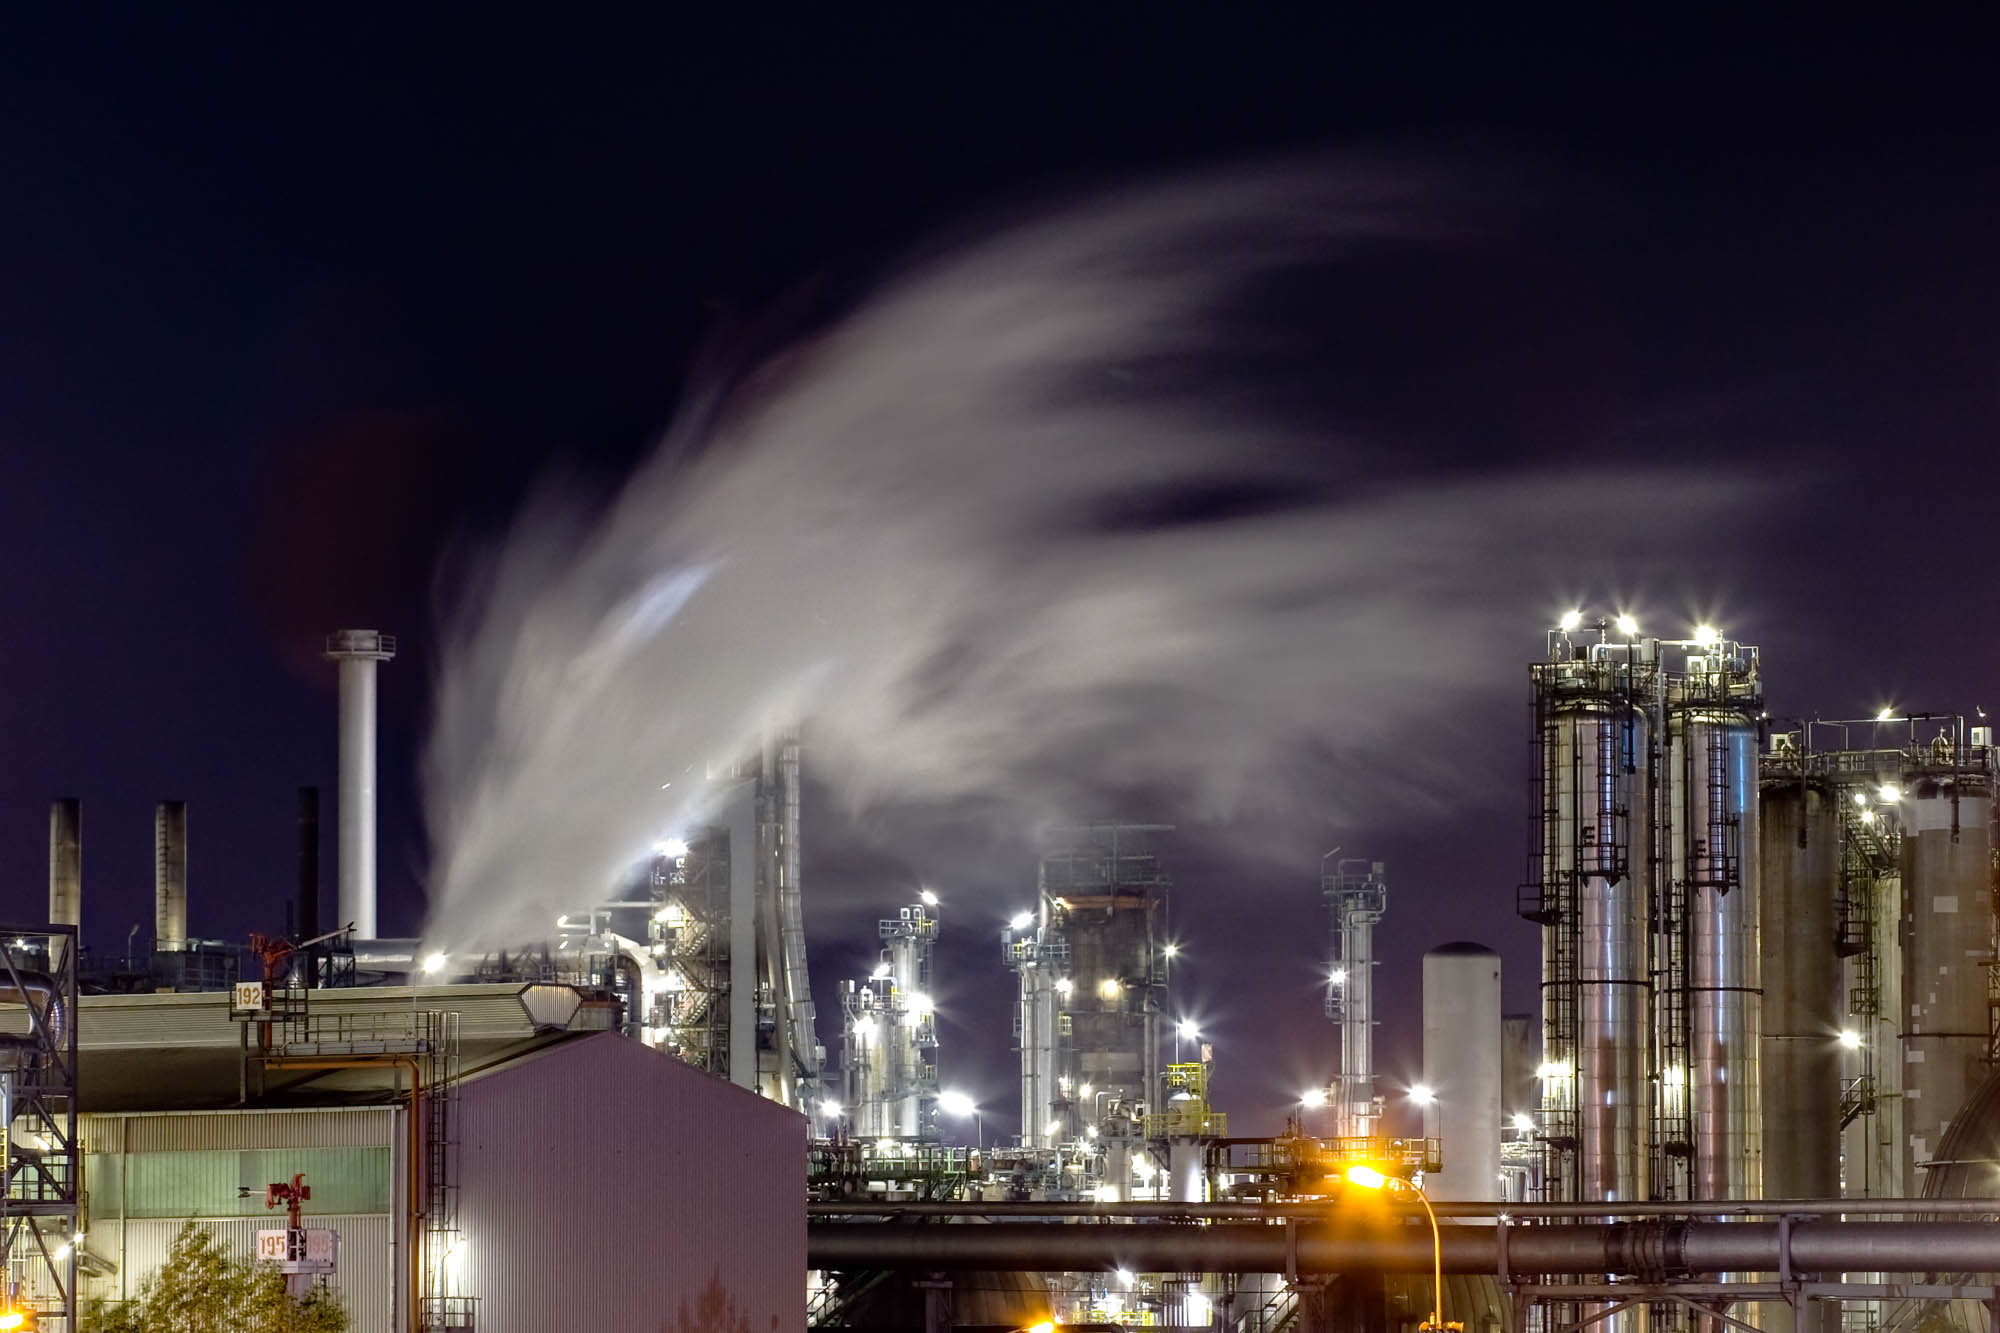
To get back to the object: HDR technology is also very useful for artificially illuminated scenes, e.g. night shots. There are many bright light points in the scene that illuminate relatively small areas. In between, the illuminance decreases rapidly, so that the scene shows relatively high brightness fluctuations in the smallest of spaces. Since the light bulbs themselves are often also represented, the dynamic range is enormous. Well-drawn shadows are obtained with HDR technology without the lights burning out. The problem of washed-out lights is further amplified by the reaction curve of a DSLR. While an analog film has a typical S curve, the reaction curve of a DSLR is very linear over practically the entire range. The S curve of the film is relatively linear only in the middle range. At high light intensities, the steepness of the curve decreases. Additional light thus only leads to a small increase in exposure on the film. This creates a smooth transition between bright and absolutely white areas. With a DSLR this smooth transition is not present. Here, the transition to the totally white area is abrupt, which leaves a very disturbing impression in the image. Therefore, when using a DSLR, you should prevent the lights from burning out or the histogram on the right side from being cut off. At the same time, dark, noisy areas must be prevented, i.e. the measured values should be placed as far to the right as possible in the histogram, but as already mentioned without being cut off on the right. If you use this technique for a night shot, you will most certainly get very dark images where only the light sources are optimally displayed.
HDR technology can help here: So you make one exposure for the lights and then another, longer exposure for the shadow areas. In these shots, the lights are automatically overexposed and violate the rule described above. But since one has already taken a picture for the lights, the bright areas from exactly this picture are used for the picture of the lamps and other bright areas in the later assembled HDR picture.
exposure
The process of creating a high dynamic range shot from a number of differently exposed shots has a major disadvantage, which all multi-shot processes have. The object should not change between the exposures so that the exposures can be optimally superimposed. Movements in the image should be avoided. Even if some HDR programs are able to detect and eliminate smaller movements, there are still problems with such image series. It is therefore important to avoid any changes as much as possible in order to avoid problems with later merging. I made my first experiences a little blue-eyed with pictures in the light-flooded forest. The high contrast range of such scenes was always a thorn in my side and I wanted to take a well drawn picture in a sunny forest for a long time. When I made my first HDR attempt, a strong wind shook the trees and the canopy. Later, I was unable to combine good HDR images with virtually any series of images because the leaf movements could not be retouched by the program. If, for example, in panorama photography certain movements are still allowed in the individual shots, in such a way that the overlapping areas of the individual shots are not affected by the moving objects, it is still possible to combine a panorama ideally. This circumstance is simply due to the fact that only certain parts of the image are superimposed. With a HDR image, however, the matter is much more critical, since the entire image is superimposed here.
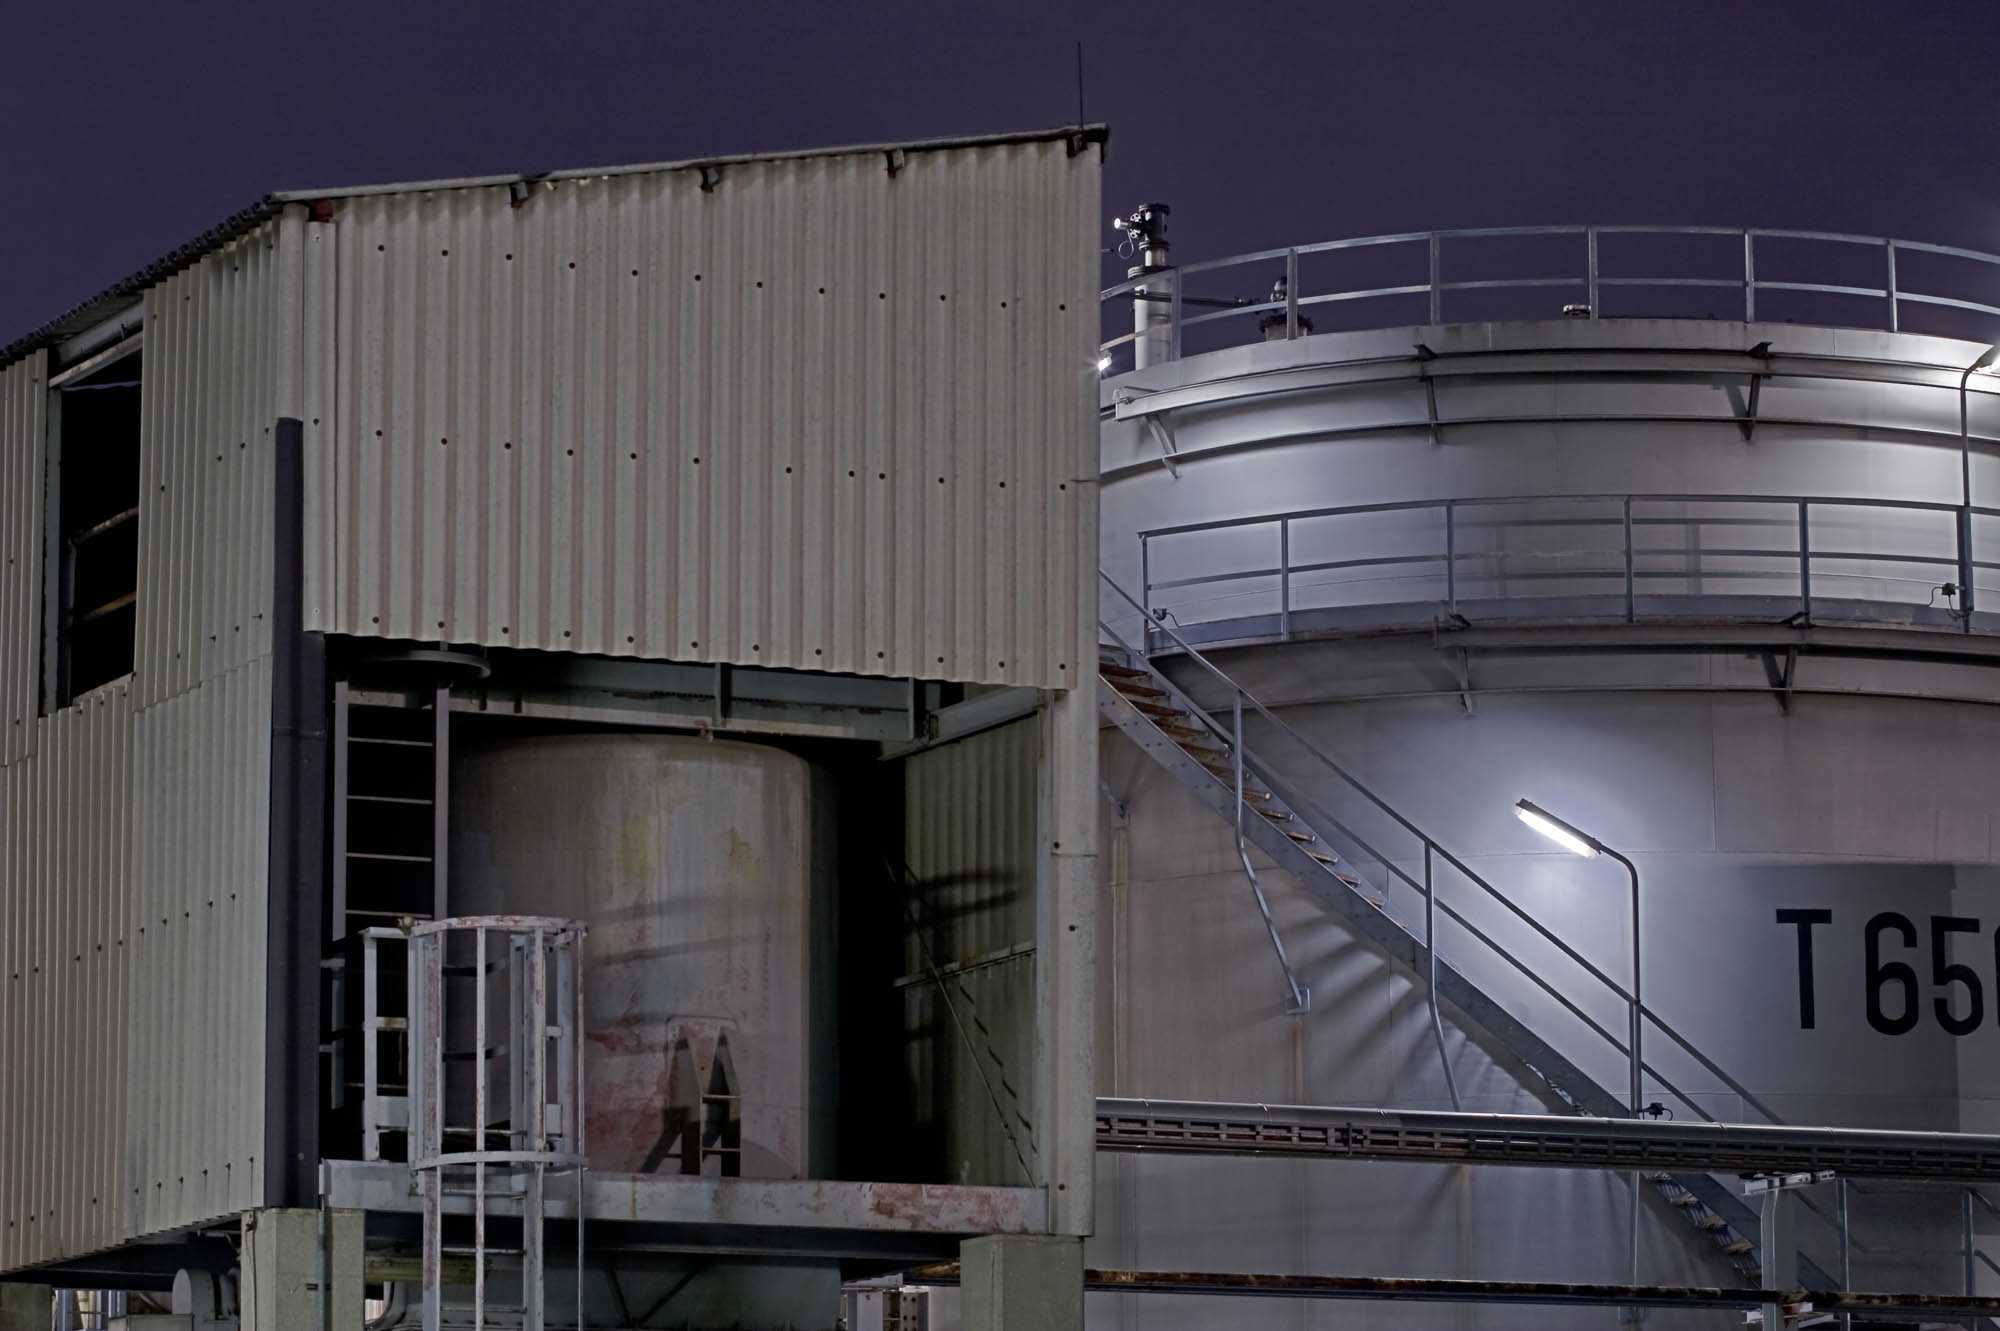
The camera is directed towards the object to be captured. Ideally, a tripod should be used to align all shots exactly. Now you measure the scene with the light meter and take a picture. For this first shot, it is important that the lights are fully covered, i.e. the lights must not outshine under any circumstances and the histogram must be cut off accordingly on the right (see first shot in the exposure row below). With small light sources, the effect on the histogram is not always easy to judge. However, if the bright areas become very small, it is always less important to sketch them well because they are then seen as highlights in the photo. But under no circumstances should eroded areas be created. In case of doubt you should expose under rather than over. Now follows pictures with longer exposure times. Each further exposure time is now extended by two f-stops (see exposure series below). It should be noted that only the exposure time is adjusted and not the aperture, as a change in the aperture value automatically results in a change in the depth of field. This would mean that the photos would no longer be identical and could not be optimally superimposed by the HDR software. Now you extend the exposure time by two f-stops (quadruple the exposure time) until the darkest parts of the histogram are in the middle of the photo. At the beginning I made the mistake that I stopped the row as soon as the histogram on the left was no longer cut off. But this results in a relatively high amount of noise in the shadow areas. This is easily prevented by adding one or two longer exposures. As you can already imagine, the exposure process makes the times very long, namely with n exposures by a factor of 2 high (n-1). So if you make 5 exposures, the longest exposure time will be 4 times higher by a factor of 2, i.e. 16 times longer than the first exposure. For example, a row looks like this:
- 1/60 second, aperture 11
- 1/15 second, aperture 11
- 1/4 second, aperture 11
- 1 second, aperture 11
- 4 seconds, aperture 11
The corresponding exposure bracket looks like this:
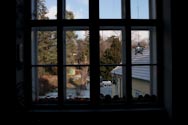
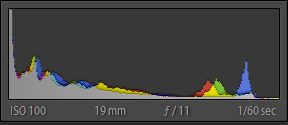
At ISO 100, the exposure at aperture 11 was 1/60th.
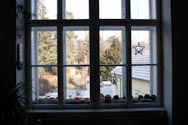
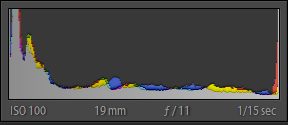
At ISO 100, at aperture 11, the exposure was 1/15th of a second.
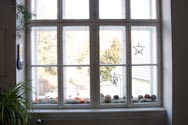
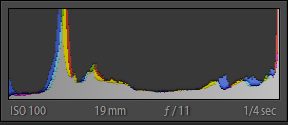
At ISO 100, at aperture 11 the exposure was 1/4 of a second.

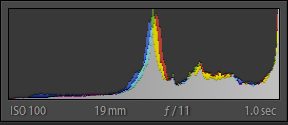
At ISO 100, f-stop 11 was exposed for 1 second.

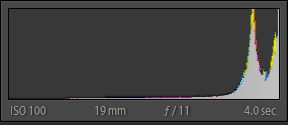
At ISO 100 at aperture 11 the exposure time was 4 seconds.
The individual exposures were superimposed in Photomatix with Detail Enhancer (more on this below). The result looks like this:
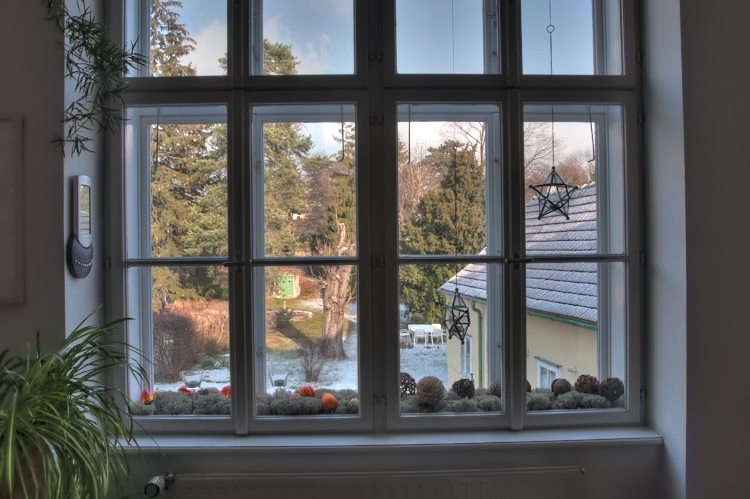
Although I started with a comfortable exposure time, I ended with a very long exposure time. Of course you could use ISO 400 instead of ISO 100 to keep the exposure times four times shorter. In this case the longest exposure time would still be one second. So it is best to make your first experiences with a tripod. Of course you can change the ISO value of the camera accordingly so that you can also expose larger rows from your hand, but you should keep the ISO value constant for a whole row.
With a lot of calculation it is possible to determine the optimal first exposure time. For this you need the exposure row length which is given by the dynamic range of the scene and the focal length used. One can still hold approx. 1/ focal length as time out of the hand, a 100mm telephoto lens with 1/125th of a second. If the lens or the camera has an image stabilizer, the time can be extended by 1 to 2 steps (some reports even show extensions by 3-4 steps, but my tests never showed such high values, see the article about the tripod). If you have calculated the longest time and the number of photos in the series, you get the shortest exposure time according to the above law. Now adjust the ISO value so that the lights are well drawn through. But this is too time-consuming for me in the field: I therefore set my camera to an ISO value from which I still expect good results, e.g. ISO 400. Then I start my series with a relatively comfortable time, e.g. 1/500th. Maybe I can open the aperture if my scene allows it and I need more light. If I can't manage this exposure time, I have to take the tripod, shorten the row or do without HDR completely. This may be a pragmatic way, but for me it's OK. You simply have to try it yourself.
I've read before that you can use the Automatic Exposure Bracketing (AEB) for HDR. After several tests I noticed that the process is only controllable in a moderate way. As mentioned above, the first exposure should be set so that the lights don't overshine. But if you measure automatically, you can't exactly examine the highlights or the shadows in the histogram (the histogram is created later with a DSR, the Live View is an exception here) and you have to go through the individual shots again later to see if the exposure series covers both areas sufficiently. If a shot is missing at one end, the camera must be switched back from AEB mode to manual mode and the shot must be triggered manually. If the camera is standing on the tripod, this is actually no problem. However, if the AEB series was shot out of hand, it will be difficult to find the same section again. I find it much easier to set the exposure to Manual, determine the exposure time for the lights and then take the next shots. If you don't have a tripod at hand, you will simply shoot the row out of your hand without taking the camera off your eye. Without seeing the histogram, you simply take pictures until you can't hold the exposure series out of your hand or until you think you have covered the dynamic range of the scene. When you later look through the series, the unnecessary shots are simply deleted. The annoying switching between AEB and manual mode is no longer necessary. In addition, the exposure row length can be freely selected and it is not necessary to shoot additional shots afterwards.
On the other hand, it is definitely better to take several shots of a situation with too high a dynamic range with a fast bracketing than to do without the exposure series altogether. The AEB can therefore be a good 'comfort compromise'. Some cameras display three strokes for the exposure in the viewfinder window instead of just one. The three dashes then represent the three exposure values that the individual shots receive. The left line is now simply set to a normal exposure, then the other two exposures are automatically doubled and exposed for four times as long. If you want to be on the safe side (so that the lights don't burn out), set the left line to -1, i.e. an aperture underexposure. Some camera models allow the choice between aperture and shutter speed changes in AEB mode. Of course you can change the shutter speed to keep the aperture constant as mentioned above. In addition, you can often choose the order in which the AEB series is performed. A stand setting is often 0 / - / +, i.e. the first exposure is uncorrected, followed by the underexposed and then the overexposed last shot. For a HDR it makes more sense to select - / 0 / +. As already mentioned, the distance should be 2 f-stops.
Below I will discuss the possibilities of AEB to freeze slow movements during recording. Here AEB can also be helpful and can be used successfully.
A series of exposures does not always have to extend over a larger number of shots. A HDR image can also be composed of only two or three exposures. After all, two exposures can cover two f-stops more than the sensor would be able to do without HDR. Or you just want to improve the signal to noise ratio in the shadows without increasing the dynamic range. Many shots live from the limited dynamic range. Just think of silhouettes. It certainly doesn't make sense to shoot every scene with HDR just because it's technically possible. Like every technique, HDR should be used consciously and not too forcefully.
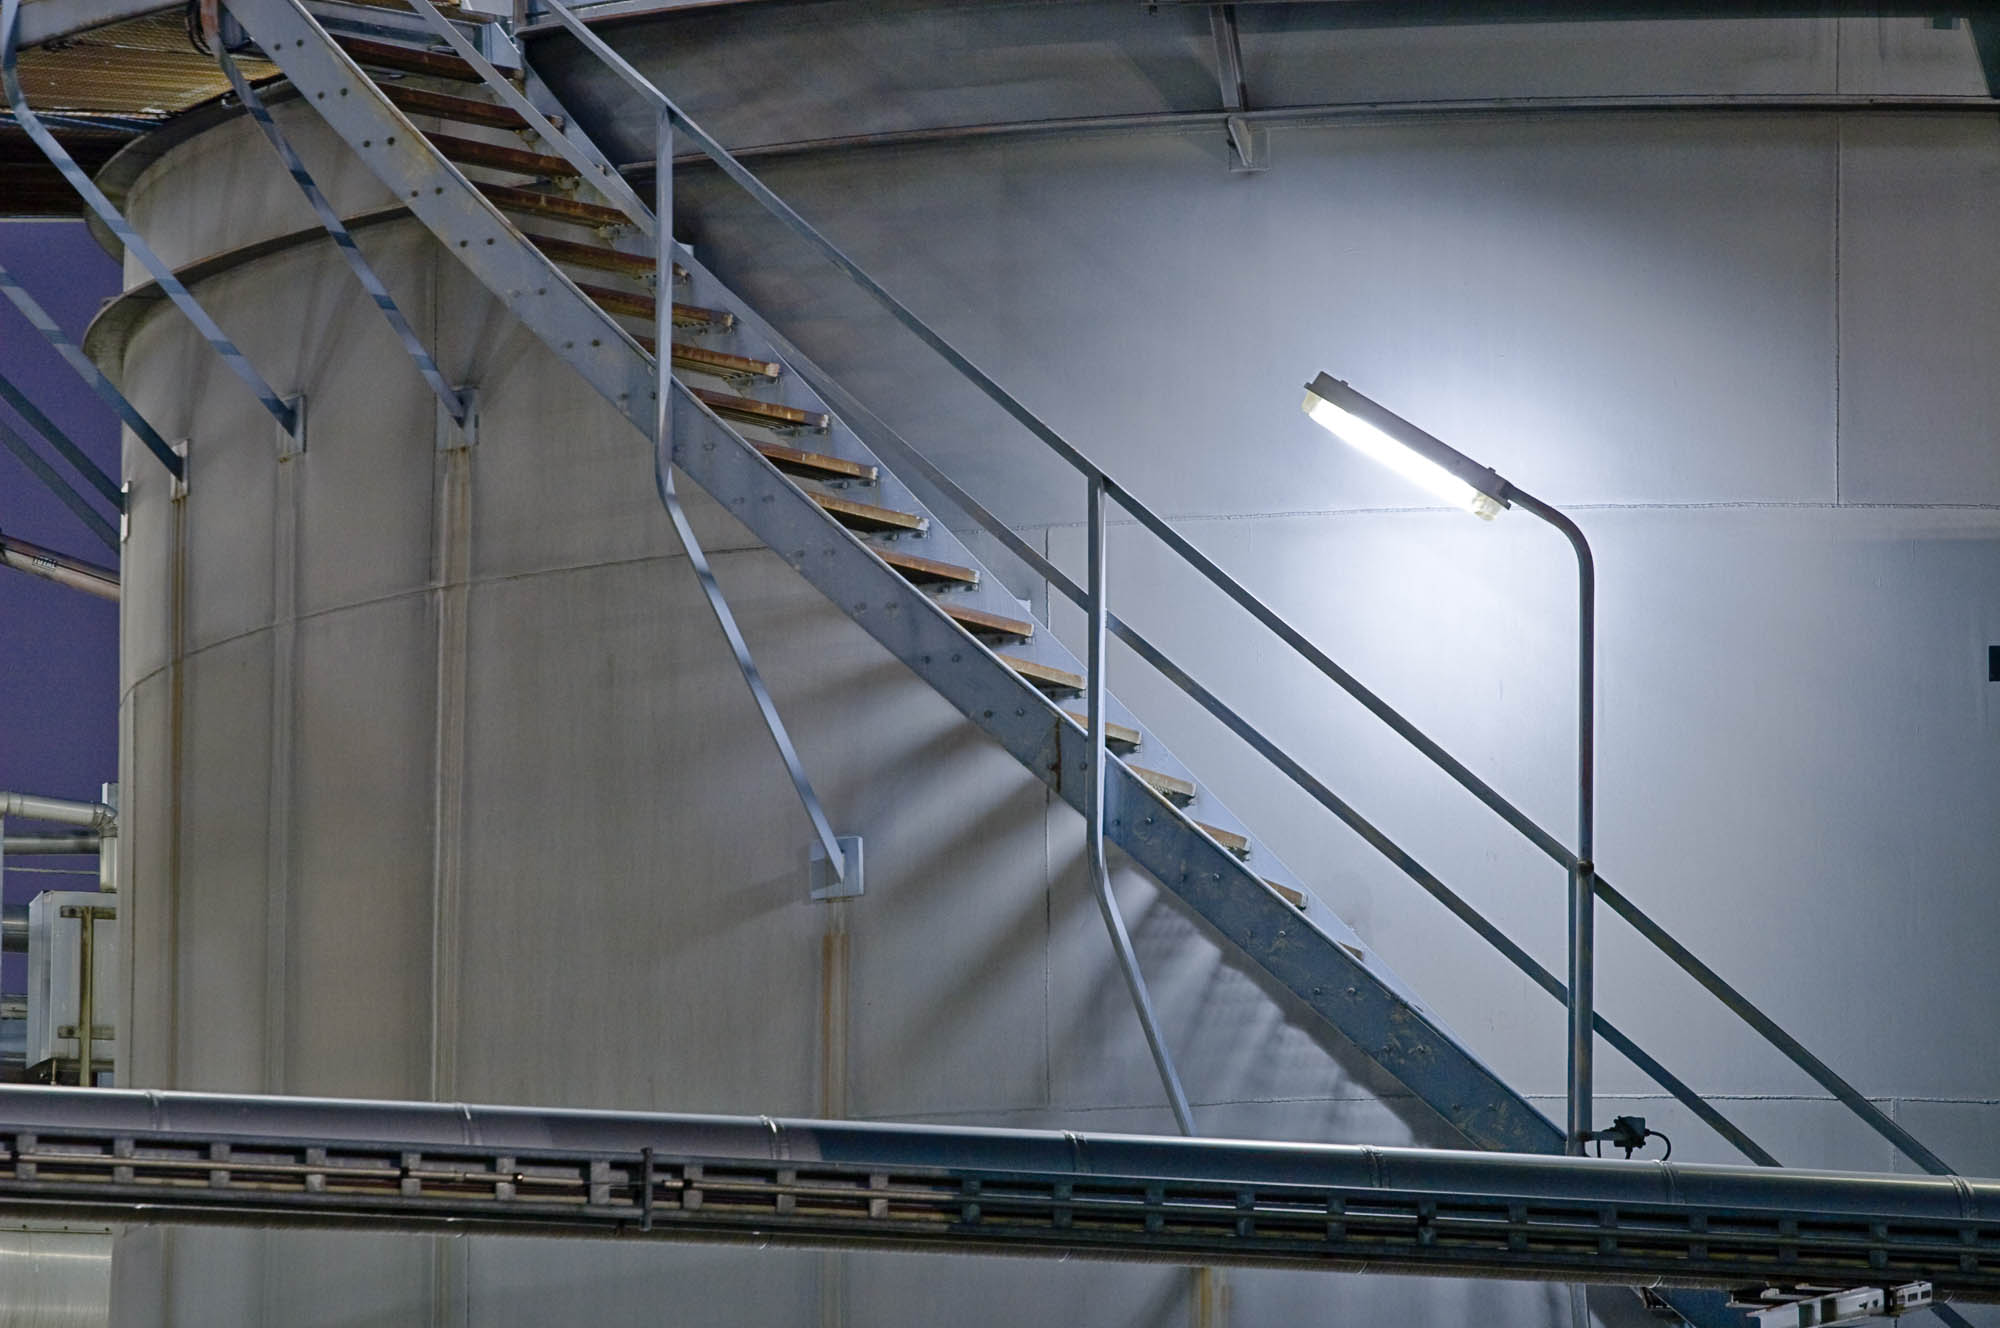
In addition to the actual HDR, there is also the possibility to carry out an exposure blending with the images of an exposure series. Exposure blending is also discussed below. Exposure blending is mainly used for shots with a not too large dynamic range. Here it can be useful to adjust the step size of the images to the dynamic range of the object. Since Exposure Blending is also not so susceptible to noise, you don't need the shadows to be as extremely overexposed as HDR requires. For these reasons it can be useful to work with steps of one f-stop, especially if 3 shots with one f-stop interval already cover the whole dynamic range of the image. Such a series is shown with the pictures below.

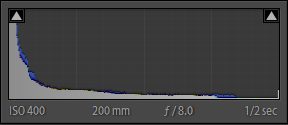

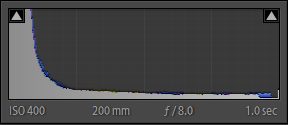
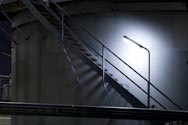
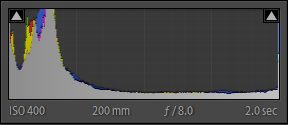
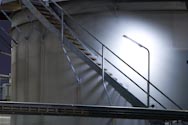
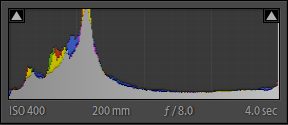
The image assembled with Exposure Blending in Photomatix looks like this:
the creation of the HDR image
The individual images are now combined to a HDR image by software. One can imagine the process in such a way that after the exposure of the pictures different parts are used for the final HDR picture, exactly those, which received an ideal exposure. The overexposed and underexposed parts are removed from the respective image and taken from the next overexposed or underexposed image. In order to assemble the individual images, the differently exposed pixels in the respective images must be compared with each other. The problem is that a pixel that is twice as bright does not necessarily get the double exposure in the image. This only happens if the reaction curve of the camera or sensor is absolutely linear. In all other cases, the pixel must first be linearized using the reaction curve of the camera before the individual images can be superimposed. Interestingly, this process doesn't seem to be too complicated and most programs do the HDR generation almost completely automatically. With some programs you can still select the reaction curve (as for example in Photomatix), sometimes even (as for example in fdr Tools) how the images should be put together exactly. Photoshop, on the other hand, does not need any information at all to generate the HDR, at least as far as the reaction curve is concerned. But the exposure information must be available for the individual shots, otherwise the program cannot know how the individual shots were exposed (it could only estimate one exposure, which is of course suboptimal). The exposure information is taken from the EXIF data, which is automatically generated by the camera during image generation and added to the image. If the data is missing in the EXIF file, a dialog is automatically displayed in which you have to enter the exposure data for the individual shots.
The procedure described above requires the use of RAW files. In order that programs can cope with RAW files, they need a RAW converter. In Photoshop this is the Adobe Camera Raw Converter (ACR), other programs use the freeware dcraw as RAW converter. There are also programs that only use the open RAW format DNG (Digital Negative from Adobe) and can convert it themselves. In this case you have to convert the RAW format generated by the camera into the DNG format using the Adobe DNG Converter, which is available as freeware.
It turns out, however, that not all programs produce optimal results when RAW files are used. For example, Photomatix often uses an external RAW converter. One can e.g. convert the individual pictures in Lightroom. Here it is also very easy to set the same white balance for all images. For example, the white balance of all images is adjusted via the file synchronization by manually adjusting the white balance of the first file, then selecting all other images of the series and making sure that the first image in which the white balance was changed is selected and synchronizes the same. Then you export the recordings in a 16bit TIF format and use these files for the HDR generation.
align the various exposures
For HDR generation, the individual images must be aligned to each other. Not all programs are able to compensate a large offset between the images. Most of the time you have to choose if you want to take the pictures with a tripod or if you want to shoot them by hand. In the first case only an offset in horizontal or vertical direction is corrected while in the second case also rotations are compensated. The second procedure is already more computationally intensive. As an alternative to the two methods, it is also possible to arrange an alignment based on identical parts of the image (matching features). As with automatic stitching, which is used to create panorama images from individual images, the same image areas are searched for and superimposed in the individual images. Depending on the shooting situation, the last method produces the best results. A slight offset can also be generated when taking pictures from a tripod. It is therefore advisable in any case to align the images to each other. If your computer processes the task relatively quickly, you can also use the third method by default, but it is actually unnecessary for tripod shots.
Most programs also allow you to choose in the align dialog whether the program should try to remove ghost images or not. I have had various experiences with this feature. The program obviously tries to compare the images with each other and eliminate image data that is only present in one image. Therefore, one usually has to choose an image, which serves as a starting point for the calculations. If one cannot choose, the first image will probably be used as a reference. It is clear that moving image areas in other images can only be analyzed if they have received a good exposure. Of course, this is not the case with a series of shots with different exposures. If the moving object is present on several shots and the areas of movement also overlap, the analysis becomes very complex. It is certainly helpful if several images are available. In general, however, you should try to avoid movements in the image already during the recording (as mentioned above). So you either wait until nobody runs through the image anymore or until the wind has e.g. eased. Another method would be to photograph the image sequence very quickly so that slow movements in the image do not have a negative effect on the overall image. Possibly the program can also analyze slow movements better because the same zones are closer together and do not change so much. The fast image sequence can be done e.g. with an automatic exposure bracketing and a fast motor transport. Of course, the disadvantages described above apply here. Alternatively, you can shoot a first test series and then make corrections regarding the output exposure and the number of shots. The faster a camera shoots exposure series, the better. Today's usual values are around 3 frames per second, but some more expensive models can produce more than 3 times as fast image sequences.
Please note that in Photoshop you have to choose the bit depth with which the HDR file should be created. Only if you select 32 bit, an HDR image will be generated. In the other two cases (8 and 16 bit) the tone mapping of the HDR generation is immediately switched on without saving the HDR file itself. You can do this if you don't want to save a HDR version: The tone mapping will be discussed in the next chapter.
HDR format
The HDR file requires a special format, e.g. jpeg only
supports 8 bit files, the standard -TIFF only supports 16 bit files. A HDR file
must contain 32 bits to record the huge tonal range. The format selection is
wide. Of the many formats you should use either OpenEXR or Radiance, because
they are the most widely used at the moment and can be opened by practically all
programs. Both formats also allow a relatively good compression and use the
floating point method to store the data optimally.
tone mapping
In Tone Mapping the HDR file is converted back into an 8Bit or 16Bit file, which can either be viewed directly on a screen or output by a printer. 16Bit is always the choice if you still have to carry out subsequent processing steps on the image. This is practically always the case with HDR files, you should generally create a 16Bit file. Here, there is simply more information available that can be manipulated without there being a visible loss of data in individual parts of the image. 8Bit files are less flexible in this respect. The printer itself does not need more than 8Bit, because the dynamic range it brings on paper can be transferred well with a resolution of 8Bit.
tone mapping operatoren (TMO)
A tone mapping operator (TMO) is used for the tone mapping. Different HDR programs usually offer a selection of TMOs, but there are basically two groups of TMOs: global and local TMOs. While global TMOs apply the operations uniformly to the entire screen area, local TMOs try to evaluate and handle the individual screen areas separately. The results of the local TMOs are usually more appealing if the parameters are used gently. If the parameters are overridden, the images get an artificial appearance. You have to be very careful with it, because this HDR look quickly seems boring and all images look very similar.
For example, Photoshop offers four different TMOs:
- exposure and gamma (global TMO)
- compress (global TMO)
- equalize histogram (global TMO)
- local adjustment (local TMO)
To get to the Tone Mapping dialog in Photoshop, do the following: You choose: File -> Automate -> Merge to HDR, select the files and then 16Bit to go directly to the Tone Mapping dialog. Now you can display the histogram and select the TMO. You have to gain some experience with the TMOs yourself. The different TMOs also offer different controls, which I don't want to go into further here. The easiest way is to play a little with the TMOs and their controls to get a feel for which TMO achieves which effects. If you don't want to try too much, focus on the only local TMO �local adjustment'.
Local TMOs have more possibilities and often the
results from them are better than from global TMOs, but you sometimes have
to struggle with artifacts caused by too much local adjustment. There are
three main effects:
- Halos occur at transitions from dark to bright image areas and vice versa,
i.e. at large local brightness jumps (steep local contrast) within an image. If,
for example, a shaded house roof is brightened in front of a bright sky, a
'halo' may appear around the house roof. To reduce the halo effect you can
either reduce the local correction or use the Smooth Lights option if offered by
the program.
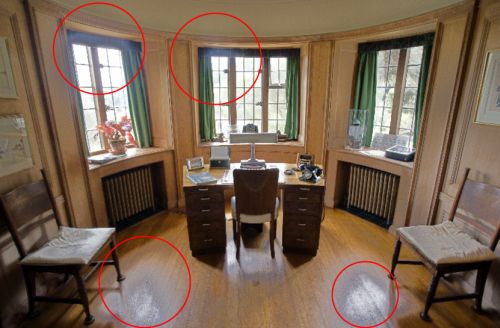
Local TMOs error: Halos (top) and tone reversal (bottom) - Tone value reversal occurs when a local area is brightened strongly and then individual gray values within this area become lighter than formerly darker gray values in lighter areas. For example, an illuminated zone suddenly gets areas that turn grey and are therefore darker than areas in its immediate surroundings. It can also happen that the lamps suddenly become darker than the areas they illuminate, which is of course absurd.
- Noise in dark areas can be amplified by brightening the image. This effect is already known from 'brightening lights' in Photoshop or Lightroom. If you use this method too much you will get noisy areas. Before applying the filter, the noise was simply not visible, because the area was really dark. So be careful here.
Photomatix also offers a local (detail enhancer) and a global (tone compressor) TMO.
exposure blending
In addition to the two TMOs, Photomatix also offers a variant to merge the individual images into one another without creating an HDR. This process is called ' exposure blending'. You also have a large choice of methods (more below). I have received some very good results with exposure blending, but you have to gain some experience to judge which image should be treated best with which method. Exposure blending can also be done manually in Photoshop by loading the individual images into different layers and then applying layer masks. This is, so to speak, the simplest but also most elaborate method to master a high dynamic range with several images of a scene. Photomatix can automate this process and offers different methods to calculate the images into each other.
It is questionable on which procedure to concentrate: on HDR generation with subsequent tone mapping with a TMO or on the exposure blending from multiple shots without ever generating a HDR shot. For this I would like to mention the advantages and disadvantages of the individual methods list:
HDR with subsequent tone mapping
advantages
- There is a wide range of tone mapping operators (TMOs) that can be applied to the HDR image. You can use the ideal TMO for an image type.
- A local TMO can analyze an image in detail and thus determine and execute an image-dependent handling of the data.
- The HDR image can be saved as an intermediate step and processed at a later time with another TMO in different ways.
- Depending on the TMO you use and how much you adjust the different settings, you can choose between a more natural and a more realistic appearance of the image. So during the tone mapping you have many possibilities to control the process .
disadvantages
- A local TMO can generate artifacts such as halos and tone reversal.
- A local TMO can sometimes strongly amplify the noise in the dark areas of the image.
exposure blending
advantages
- The artifacts that occur during tone mapping such as halos, tone reversal and others do not occur during exposure blending.
- The picture usually has a very natural look, an artificial appearance like a local TMO is rare.
- The noise is not amplified as much as with a local TMO. If you have not continued the exposure series until you could place the shadows in the middle histogram area, you can still achieve very good results with exposure blending. The noise alone can be a reason to use an exposure blending instead of a tone mapping.
disadvantages
- There are no possibilities offered by a local TMO to edit different image areas differently. This step can only be carried out afterwards (e.g. lighten with shadows in Photoshop or Lightroom).
- You always have to start again with the original files to start the exposure blending. You can't save an intermediate step like an HDR where the aligned images are already superimposed.
Photomatix can perform exposure blending in the following ways:
- Average
- highlight & shadow, auto
- highlight & shadow, adjust
- highlight & shadow 2 images
- highlight & shadow, intnesive
Highlight & shadow (H&S), adjust is a new procedure that is much praised. I've tried all the procedures and also partly achieved good results with the other methods. But you have to get to know the individual methods in order to determine which method is best not only for your but also to its own pictures. Below you can see three original pictures which have been processed with different methods. Note for example the halo on the heater under the window.
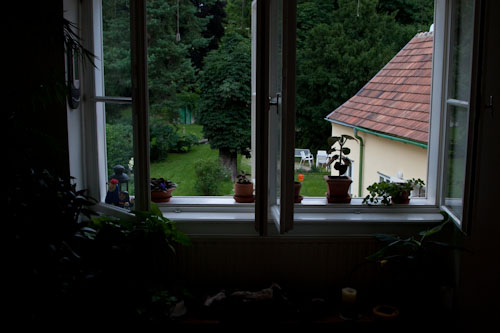
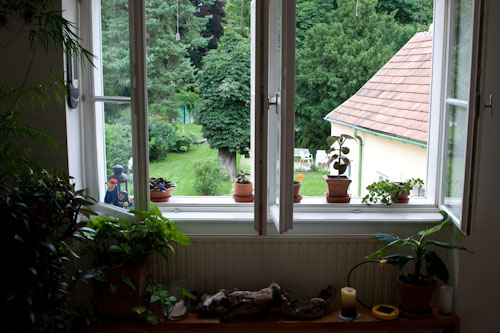
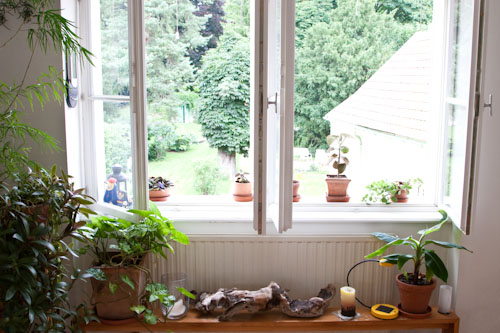
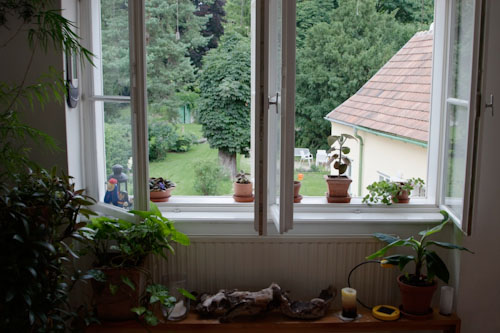

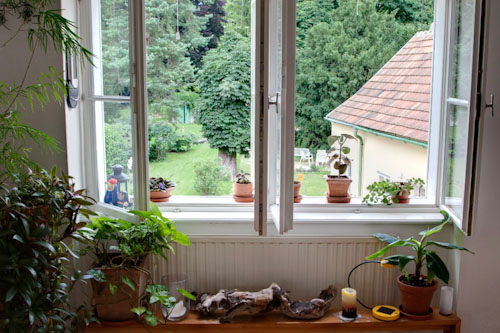
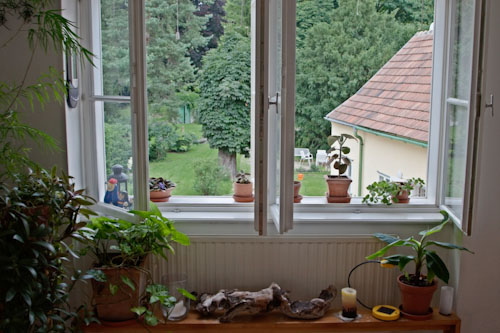
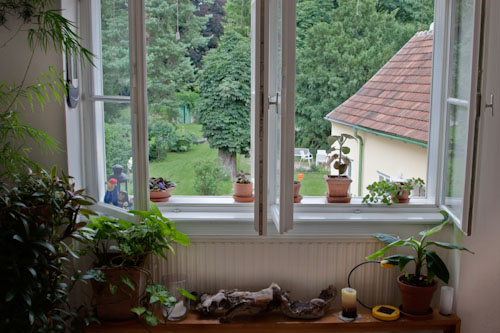
In any case, exposure blending is a good and attractive alternative to the HDR method via tone mapping. The natural-looking results are convincing and relatively easy to achieve, especially when the dynamic range of the output series is not too wide.
noise reduction
Finally, I would like to point out the possibility of overlaying images with identical exposures in some programs in order to to reduce the noise. For example, you can fuse four shots with the same exposure and get an improved signal to noise ratio in the shadow areas. As a result, the dynamic range of the image has been increased, since the dynamic range is affected by noise in dark areas and by overexposed bright areas. If for some reason it is not possible to make longer exposure of a scene, either because you are photographing out of hand or because something is moving in the picture, this method can help to keep the noise within limits or reduce it in relation to a single shot. In this case you simply activate the continous drive of the camera and release it a few times.
closing remarks
HDR and tone mapping or exposure blending can be used to create images of scenes with a high dynamic range. Both techniques enhance the photographer's ability to cope with different situations.